
pfSense is one of the most capable open-source firewalls available, and for good reason, it gives you enterprise-grade network security without the enterprise-grade price tag. Whether you’re deploying it on dedicated hardware or spinning it up in a virtual machine, this pfSense installation guide walks you through every step from downloading the ISO to completing your initial configuration and getting traffic flowing.
At CommX Networks, we design and build network infrastructure for commercial facilities across Southwest Florida. That work goes beyond pulling cable and mounting access points, it means helping businesses select and deploy the right firewall solutions to protect their operations. We’ve configured pfSense across office buildouts, warehouse expansions, and multi-site environments where reliable security at the network edge isn’t optional.
This guide covers the full installation process: choosing compatible hardware, creating a bootable USB drive, running through the installer, assigning interfaces, and configuring pfSense through the web dashboard. Each step includes practical details based on real deployment experience, not just screenshots from a default setup. By the end, you’ll have a fully functional pfSense firewall ready for production use or further customization with VLANs, VPNs, firewall rules, and more.
What you need before you start
Before you run through any pfSense installation guide, gather everything on this list. A rushed start leads to incomplete configurations that take twice as long to fix later. Hardware, software, and a clear network plan are the three things you need locked in before you touch the installer.
Hardware requirements
pfSense runs on any modern x86-64 hardware, but what you pick determines how well it performs under real traffic. At minimum, the system needs a 64-bit processor, at least 1 GB of RAM, and 8 GB of storage, but those are floor-level specs for a lab box. A commercial deployment handling multiple VLANs, VPN tunnels, or IDS/IPS rules needs significantly more headroom.
For most small business deployments, a system with 4 CPU cores, 8 GB of RAM, and a 32 GB SSD hits the right balance between cost and long-term capacity.
The most critical hardware decision is your network interface cards (NICs). pfSense requires at least two NICs: one for WAN and one for LAN. Intel-based NICs are the most reliable choice because pfSense’s BSD kernel has mature, stable drivers for them. Realtek NICs can work, but they have a history of driver problems under sustained high load.
| Component | Minimum | Recommended (Business) |
|---|---|---|
| CPU | 64-bit, 1 GHz | Quad-core, 2+ GHz |
| RAM | 1 GB | 8 GB |
| Storage | 8 GB SSD | 32 GB SSD |
| NICs | 2 (WAN + LAN) | 2+ Intel-based NICs |
| USB Port | 1 (for install media) | 1 |
Software and downloads
You need two things on the software side: the pfSense CE ISO file and a USB imaging tool to write it to a drive. Netgate provides the Community Edition for free on their official site. Download the AMD64 DVD Image (ISO) version, which works for both physical hardware and virtual machines.
For writing the ISO to a USB drive, use Rufus on Windows or the dd command on Linux and macOS. Both tools are straightforward and produce a reliable, bootable drive without extra configuration steps.
Here’s the full software checklist before you proceed:
- pfSense CE ISO from netgate.com (AMD64, DVD Image format)
- Rufus (Windows) or
dd(Linux/macOS) for flashing the USB drive - A USB drive of at least 4 GB that you can wipe completely
- A monitor and keyboard connected to the target machine for the install session
- SSH or serial console access if you plan a headless deployment
Network planning basics
Take five minutes before the install to write down your IP addressing scheme. You need to know what subnet your LAN will use, what your WAN connection type is (DHCP, static, or PPPoE), and how many interfaces you plan to configure. pfSense prompts you to assign interfaces during first boot, and having your answers ready keeps the process moving without interruptions.
Also pull together your ISP connection details: static IP addresses, subnet masks, default gateways, and DNS servers. Having that information on hand prevents the most common reason installs stall, which is not knowing what to enter when the setup wizard asks.
Step 1. Prep firmware, disks, and network ports
Before you run the installer, get the target hardware into a known-good state. Skipping this step is the fastest way to hit confusing errors mid-install. BIOS settings, disk condition, and NIC identification all need to be confirmed before you write a single file to your machine.
Check and update BIOS/UEFI settings
Boot into your system’s BIOS or UEFI interface and make three changes before anything else. First, set the boot order to prioritize USB so the installer launches correctly from your flash drive. Second, disable Secure Boot, because pfSense’s BSD-based installer will not complete with it enabled on most hardware. Third, enable VT-x or AMD-V virtualization extensions if you plan to run Suricata or any package that benefits from hardware acceleration.
If your hardware supports UEFI, use it over legacy BIOS mode for better compatibility with modern pfSense releases.
Also check your motherboard manufacturer’s support page for the latest firmware update if your system is more than two years old. Outdated firmware causes intermittent NIC recognition problems that are difficult to diagnose once pfSense is running.
Wipe and verify your storage disk
Run a quick disk health check before the install. A failing drive will corrupt your pfSense installation within weeks, even if the initial setup completes without errors. On Linux, use the following command to pull S.M.A.R.T. data on the target drive:
smartctl -a /dev/sdX
Confirm there are no reallocated sectors or pending errors in the output before you proceed.
If you’re installing on a fresh SSD, wipe it with a secure erase command or use your drive manufacturer’s tooling to reset it to factory state. This prevents leftover partition tables from interfering with the installer’s disk partitioning step.
Identify and label your network ports
Physical port labeling saves significant time during this pfSense installation guide’s interface assignment step. Plug a known device into each NIC one at a time, then note which physical port maps to which interface name (em0, em1, igb0, and so on) by running ip link on a Linux machine connected to each port. Write those port-to-interface mappings down before you start the installer so you assign WAN and LAN correctly on the first attempt.
Step 2. Create boot media and start the installer
With your hardware prepped and your pfSense ISO downloaded, the next task is writing that ISO to a USB drive and booting into the installer. This step is straightforward, but using the wrong tool or wrong settings will produce a USB drive that either fails to boot or corrupts the install partway through.
Flash the ISO to a USB drive
On Windows, open Rufus with administrator privileges, select your USB drive, and load the pfSense ISO file. Set the partition scheme to GPT if your system uses UEFI, or MBR if you’re using legacy BIOS mode. Leave the file system settings at their defaults and click Start. Rufus handles the rest in under two minutes.
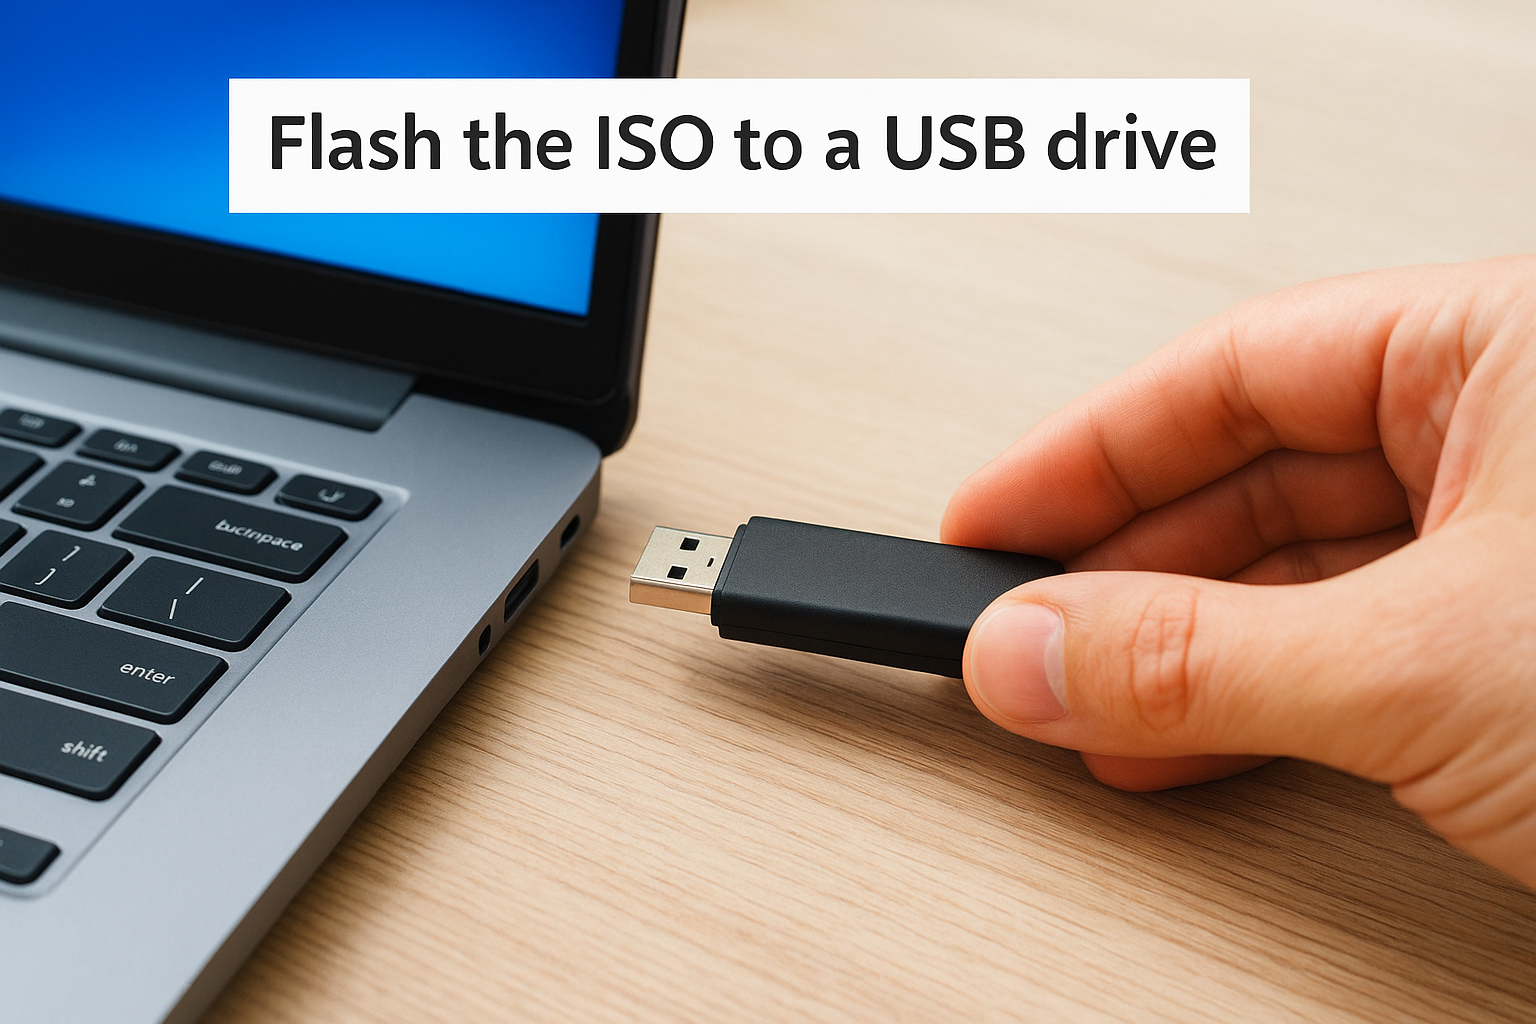
On Linux or macOS, use the dd command directly in your terminal. Replace /dev/sdX with your actual USB device identifier, which you can confirm by running lsblk before and after inserting the drive:
sudo dd if=pfSense-CE-2.7.2-RELEASE-amd64.iso of=/dev/sdX bs=4M status=progress && sync
Double-check the output path before you run
dd. Writing to the wrong device will wipe a drive permanently without a confirmation prompt.
Boot from USB and launch the installer
Insert the prepared USB drive into the target machine and power it on. If your BIOS is set correctly from Step 1, the system should boot directly into the pfSense installer. If it does not, press the boot device selection key for your motherboard (common keys are F11, F12, or Esc) and manually select the USB drive from the list.
You’ll see a FreeBSD boot loader screen with a countdown timer. Let it run or press Enter to proceed immediately. The system then loads the pfSense installer environment and presents you with a welcome screen confirming the version you’re installing. At this point in the pfSense installation guide, your hardware is running the installer and you’re ready to handle disk partitioning and system configuration in the next step.
Step 3. Install pfSense and choose storage options
The pfSense installer presents a clean, menu-driven interface once it loads. You’ll navigate with the arrow keys and Enter, and most decisions in this step involve confirming sensible defaults. The one exception is the storage partitioning step, which requires a deliberate choice based on your hardware and deployment goals.
Accept the license and select the installation type
The first screen asks you to accept the end-user license agreement. Select Accept to continue. The installer then presents three options: Install, Rescue Shell, and Recover config.xml. Select Install to proceed with a fresh deployment. This pfsense installation guide assumes you’re doing a clean install on a prepared disk, not recovering an existing setup.
Choose your keymap and partition scheme
On the next screen, confirm your keyboard layout. The default is US, which is correct for most deployments. After that, the installer asks you to choose a partitioning method. You’ll see three options:
- Auto (UFS): Recommended for most physical hardware installs. Fast, simple, and reliable.
- Auto (ZFS): Use this if you want built-in volume management, snapshots, or are deploying on a system with multiple drives and enough RAM (at least 8 GB recommended for ZFS).
- Manual: Only needed if you have a specific partition layout requirement. Avoid this unless you have a concrete reason.
For single-drive commercial deployments on an SSD, Auto (UFS) is the right call in almost every scenario. ZFS adds overhead that only pays off if you need its specific features.
Confirm the target disk and run the install
After selecting your partition scheme, the installer shows you a list of available disks. Select the correct target drive and confirm the write operation. The installer then formats the disk, copies the pfSense system files, and writes the bootloader. This process typically takes two to five minutes depending on your hardware speed. When it finishes, the installer asks if you want to open a shell or reboot. Select Reboot and remove the USB drive while the system is restarting so it boots from the newly installed disk on the next cycle.
Step 4. Finish first boot setup and open the web GUI
After the system restarts from the freshly installed disk, pfSense loads its console menu for the first time. This is where you assign your physical network interfaces to their roles, which is the last step before you can access the web-based configuration dashboard. Keep your port-to-interface notes from Step 1 in front of you because you’ll need them right now.
Assign WAN and LAN interfaces at the console
The console displays a numbered menu with options for interface assignment, setting IP addresses, and other tasks. Select option 1 (Assign Interfaces) and press Enter. pfSense detects all available NICs and lists them by their interface names (em0, em1, igb0, and so on). When prompted, type the interface name that corresponds to your WAN-facing port and press Enter, then do the same for your LAN port.
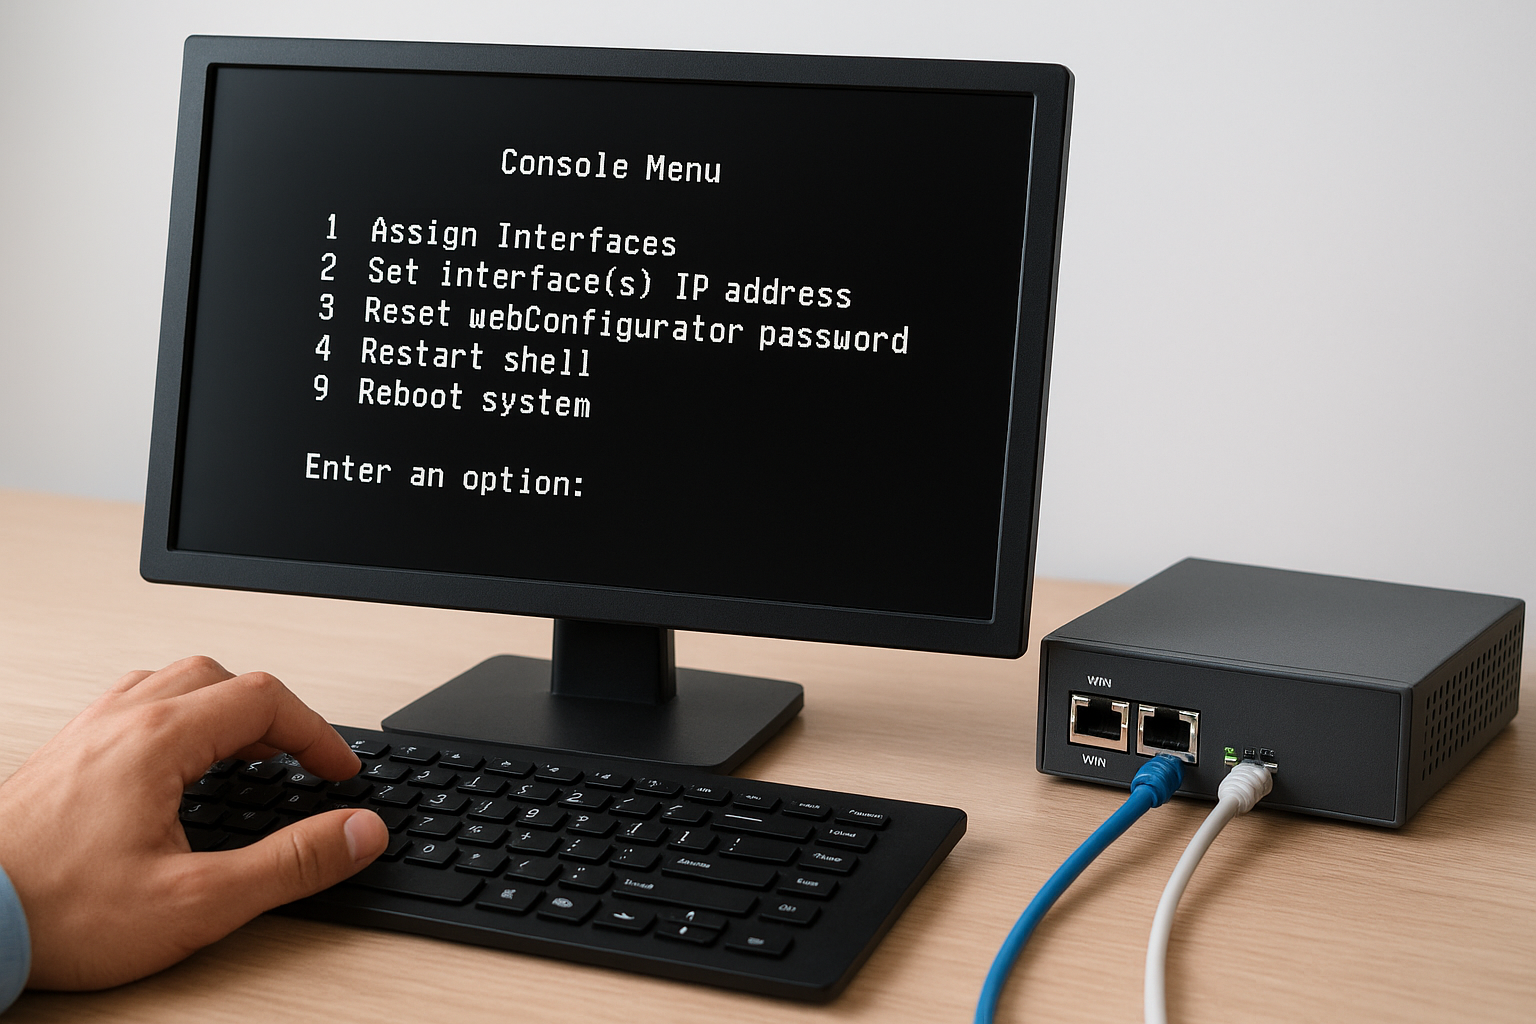
After you confirm the assignments, pfSense applies a default LAN IP address of 192.168.1.1 with a subnet mask of 255.255.255.0. If that subnet conflicts with your existing network layout, select option 2 from the console menu to set a different LAN IP before you proceed.
Write down whatever LAN IP address you assign here because you’ll type it directly into your browser in the next step.
Log into the web GUI and run the setup wizard
Connect a computer to the LAN port of your pfSense box using either a direct cable or a switch. Open a browser on that machine and navigate to http://192.168.1.1 (or whichever LAN IP you assigned). You’ll see the pfSense login page. The default credentials are admin for the username and pfsense for the password.
The setup wizard launches automatically after your first login. It walks you through hostname and domain settings, your DNS server configuration, WAN connection type, time zone, and an admin password change. Fill in each field using the ISP details and network plan you prepared before starting this pfSense installation guide. Once you complete the wizard, pfSense applies your settings and loads the main dashboard, where your firewall is active and passing traffic.
Next steps
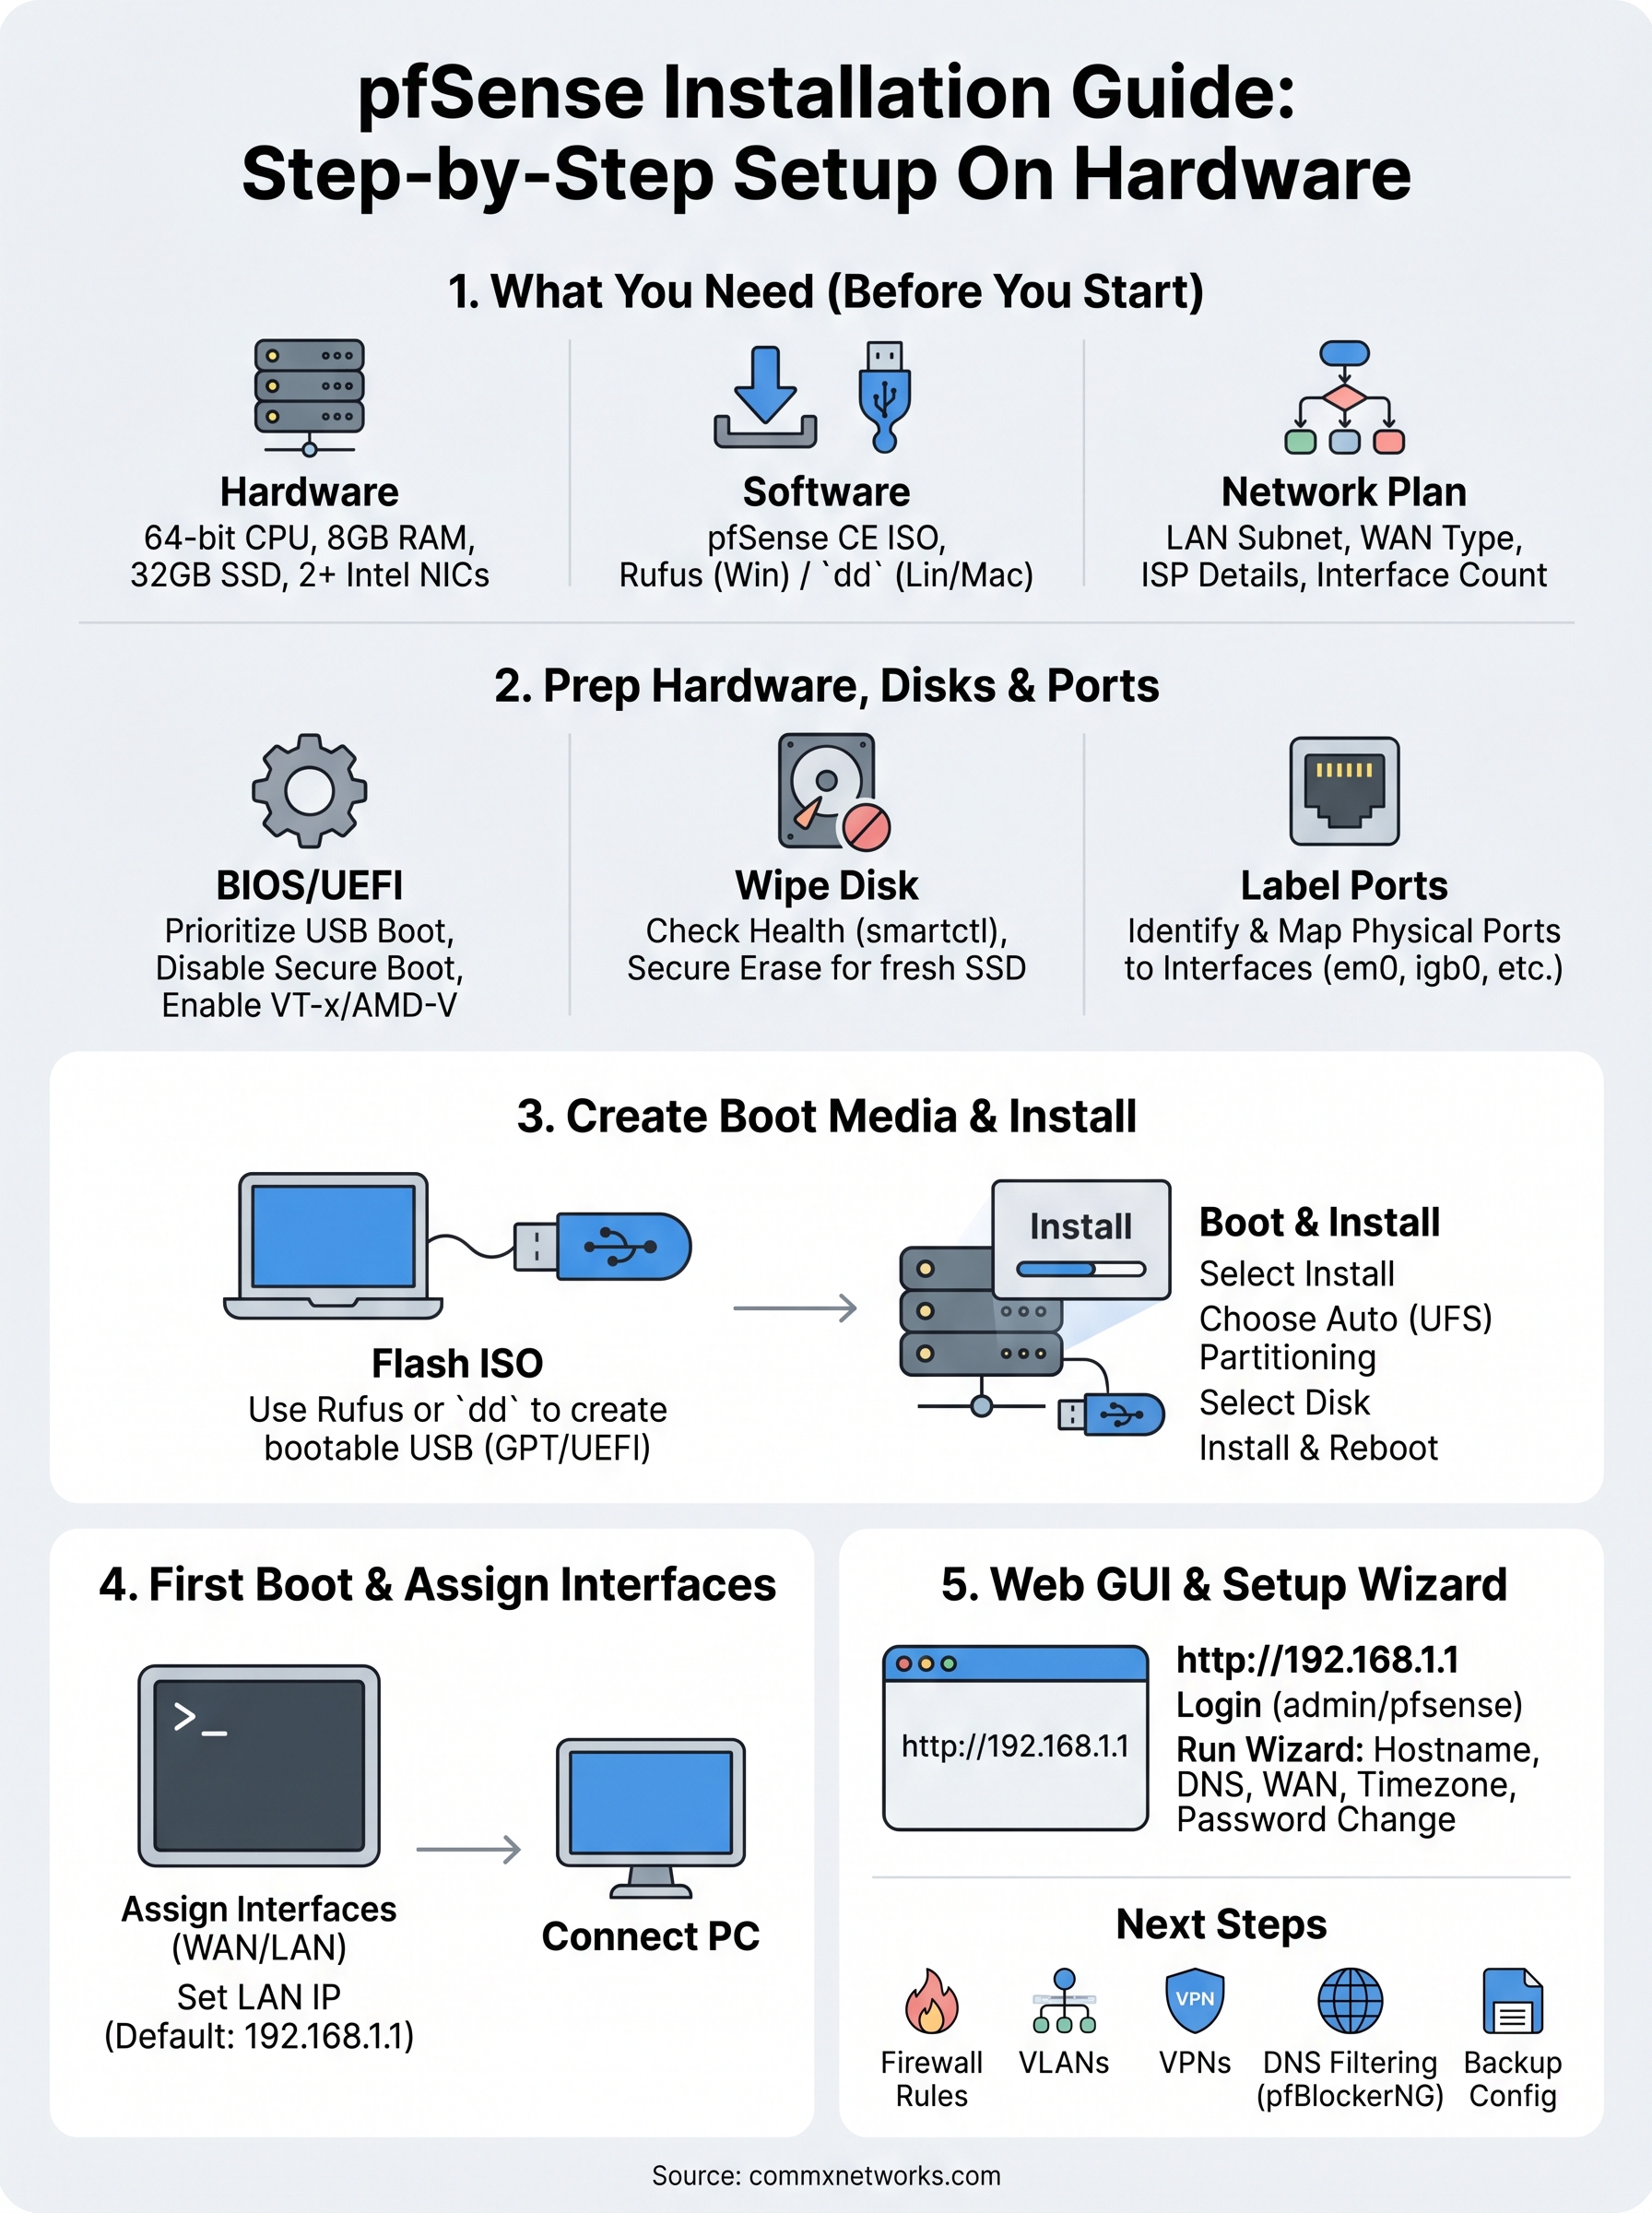
You now have a working pfSense firewall running on physical hardware with interfaces assigned, WAN connected, and the web GUI accessible. That gets you through the core install, but a production deployment needs more configuration before you put real traffic through it. Start by creating firewall rules that explicitly allow only the traffic your network requires. From there, set up VLANs to segment your wired and wireless devices, configure a VPN if you have remote users, and enable DNS filtering through the pfBlockerNG package.
Backing up your config.xml file immediately after you complete this pfSense installation guide is also worth doing right now. A stored backup means you can restore a known-good state in minutes if something breaks during future changes.
For businesses in Southwest Florida that need help with the physical infrastructure behind that firewall, including structured cabling, switch deployment, and access point placement, CommX Networks handles the full build from the ground up.