
A reliable Wi-Fi network starts long before a single access point gets mounted to a ceiling. It starts with data, specifically, the kind of data you get from an Ekahau wireless site survey. Ekahau is the industry-standard platform that network professionals use to design, validate, and troubleshoot wireless networks before and after deployment. Without it, you’re essentially guessing where to place hardware and hoping for the best. That approach doesn’t work in a 50,000-square-foot warehouse or a multi-floor office complex.
At CommX Networks, we use Ekahau as part of our wireless installation process for commercial facilities across Southwest Florida. When we’re building out Wi-Fi for a distribution center in Fort Myers or an office expansion in Naples, Ekahau gives us the ability to map RF behavior, identify dead zones, and verify coverage against actual performance requirements, not just theoretical ones.
This article breaks down what Ekahau is, how its software and hardware components work together, and how a proper site survey gets conducted from predictive design through post-install validation. Whether you’re an IT director evaluating tools or a facility manager trying to understand what goes into a professional-grade wireless deployment, you’ll walk away with a clear picture of the process and why it matters.
What an Ekahau wireless site survey is
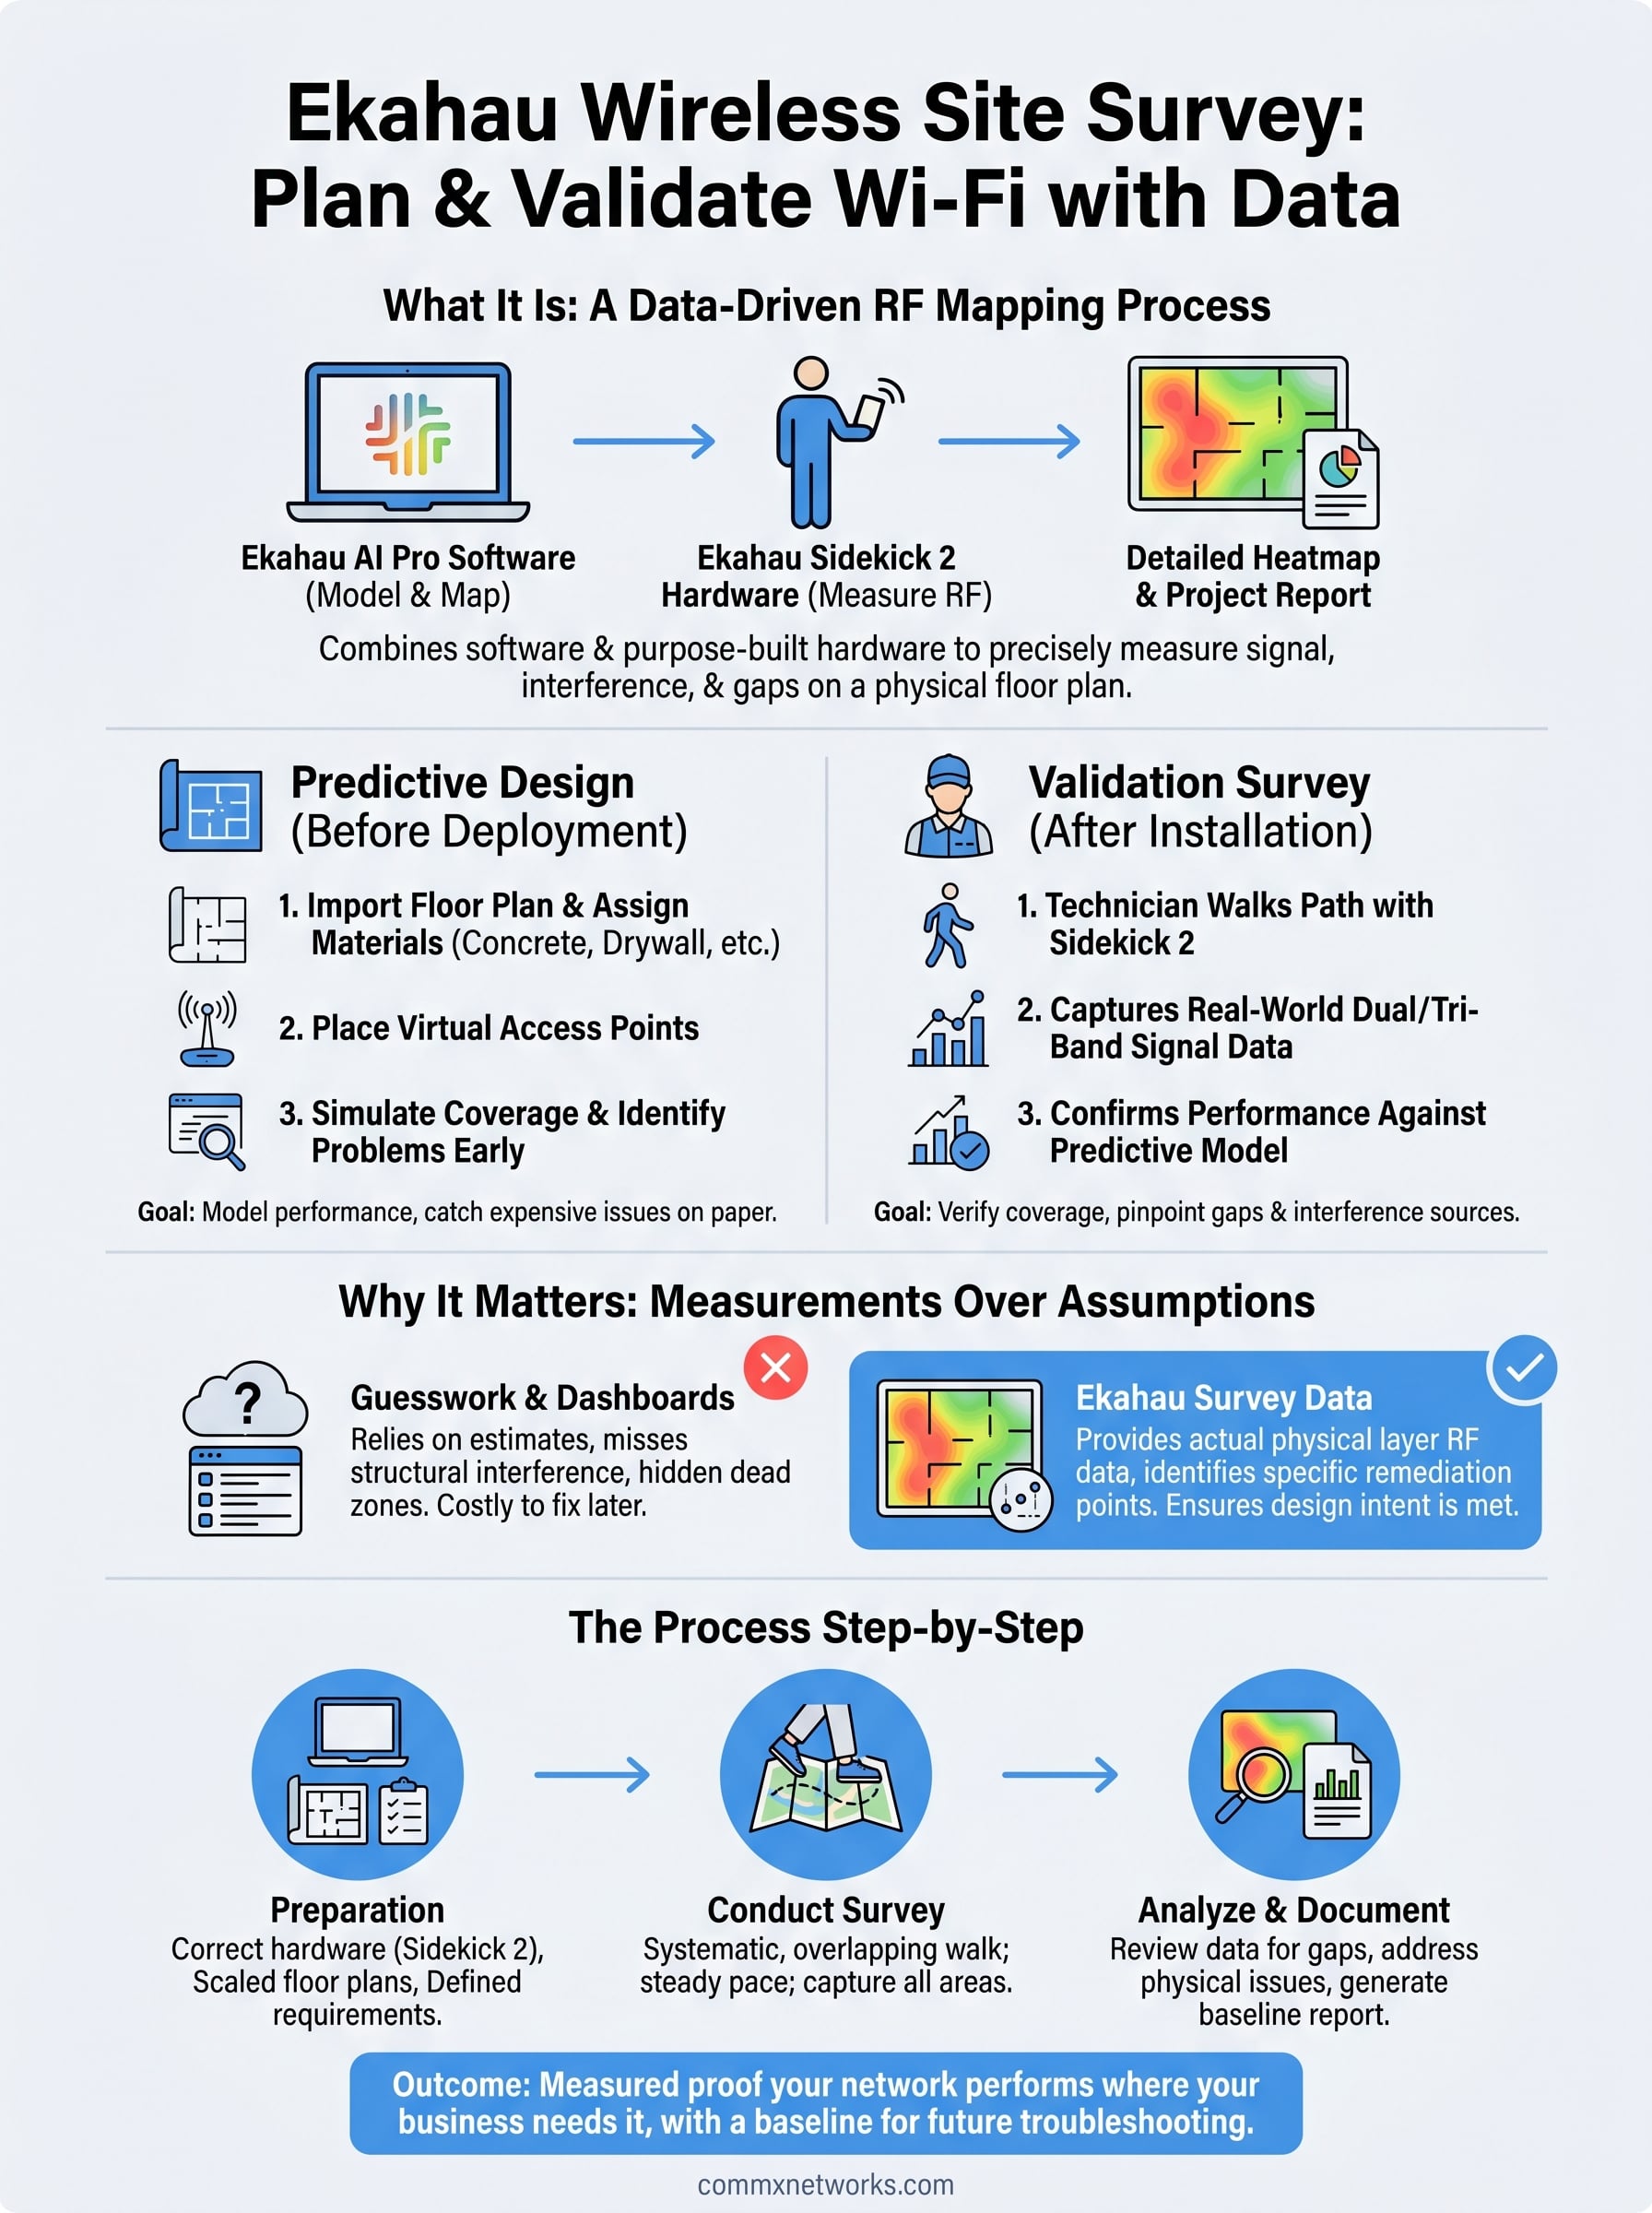
An Ekahau wireless site survey is a structured, data-driven process for measuring and mapping the radio frequency (RF) environment of a physical space. Ekahau’s platform combines dedicated software (Ekahau AI Pro) with purpose-built hardware, like the Sidekick 2 spectrum analyzer, to collect precise measurements of signal strength, interference, channel utilization, and coverage gaps across your facility. The result is a detailed heatmap and project report that tells you exactly how Wi-Fi will perform, or is currently performing, in your specific building.
A professional site survey and a basic Wi-Fi scan are not the same thing. One gives you actionable RF data tied to a floor plan. The other gives you a list of network names.
The platform is built around two distinct workflows: designing a network before installation and validating real-world performance after it goes live. Both workflows rely on physical measurements tied to an actual floor plan, not assumptions pulled from vendor spec sheets or generic coverage radius estimates. For commercial environments with complex layouts, dense device populations, or strict uptime requirements, that distinction determines whether your deployment succeeds or fails.
Predictive surveys: designing before you deploy
A predictive survey, also called a pre-deployment or passive survey, lets you model where access points should go before anyone touches a ladder or pulls a cable. You import your floor plan into Ekahau AI Pro, assign wall and floor materials (concrete, drywall, and glass each attenuate signal differently), and place virtual access points on the map. The software simulates RF propagation and shows you predicted coverage, signal overlap, and channel interference across the entire space.
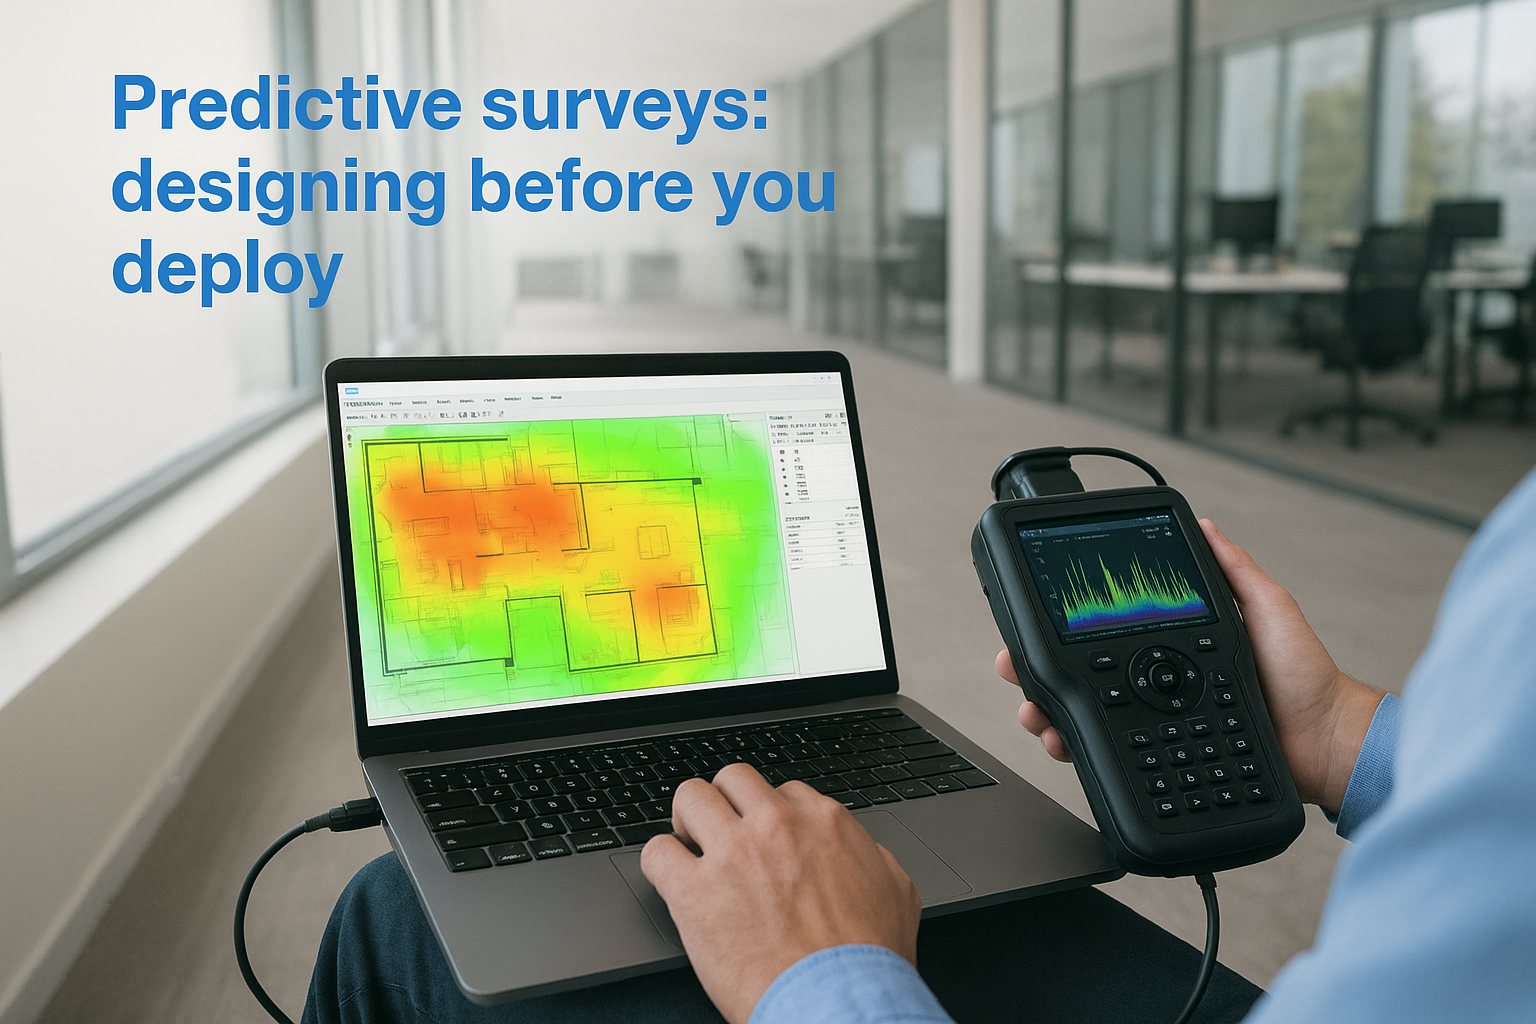
This step is where you catch expensive problems early. If the model reveals a dead zone in a loading dock or a conference room with competing channels, you fix the design before installation begins. Ekahau’s AI-assisted AP placement tool can recommend optimal access point locations based on your specific coverage and capacity targets, which compresses the design phase without sacrificing accuracy.
Validation surveys: confirming what was built matches what was planned
Once your network is installed, a validation survey confirms that real-world RF performance aligns with the predictive model. A technician walks the facility with the Ekahau Sidekick 2 connected to a laptop running Ekahau AI Pro. The Sidekick captures dual-band and tri-band signal data simultaneously across the 2.4 GHz, 5 GHz, and 6 GHz bands, and the software maps that data against your floor plan in real time as the technician moves through each area.
Every location where measured signal levels or throughput fall below your design targets appears immediately on the heatmap. You can pinpoint roaming handoff problems between access points, identify sources of RF interference, and produce a documented record of final coverage before the project officially closes.
Why Ekahau surveys beat guesswork and dashboards
When you skip a proper site survey and base your Wi-Fi deployment on rough estimates or vendor recommendations, you build a network around assumptions instead of measurements. That approach might hold up in a small office with a handful of users, but it breaks down in commercial environments where layout complexity, building materials, and device density create RF conditions no one can reliably predict without data. Ekahau closes that gap by giving you actual numbers tied to actual locations in your building.
What guesswork costs you
A common shortcut is spacing access points evenly across a floor plan and assuming coverage will follow. In practice, a concrete pillar, a metal shelving unit, or a glass partition can cut signal strength by 15 to 20 dB within a matter of feet. Without an ekahau wireless site survey to model or measure that attenuation, you end up with dead zones you didn’t plan for and a remediation bill that costs more than the original survey would have.
Fixing a poorly designed network after installation typically costs two to three times what a proper pre-deployment survey would have required.
Running a predictive survey first lets you catch those structural interference problems on paper rather than on a ladder after the cabling is already in.
Why controller dashboards aren’t enough
Your wireless controller’s built-in dashboard reports client counts, connected devices, and throughput averages, but it only shows you what devices that are already connected experience. It gives you no visibility into the physical RF environment your access points operate in, which means it cannot show you where signal degrades, where interference sources sit, or whether your coverage boundaries match your design intent.
Ekahau captures that physical layer data directly from the air. You get a complete, location-specific picture of RF performance rather than a filtered summary of devices that happened to connect successfully.
What you need before you start the survey
Starting an ekahau wireless site survey without the right preparation wastes time and produces incomplete data. Before you walk a single square foot of your facility, you need accurate floor plans, a clear list of coverage requirements, and the correct hardware ready to go. Gaps in any of those three areas will force you to repeat work, which drives up project cost and delays your deployment timeline.
The right hardware
Ekahau AI Pro runs on a Windows or macOS laptop, and for a validation survey you’ll also need the Ekahau Sidekick 2 spectrum analyzer. The Sidekick handles multi-band capture independently from your laptop’s internal Wi-Fi card, which eliminates adapter interference and keeps your measurement data clean. Without it, signal readings become unreliable because your laptop’s card can only scan one band at a time while simultaneously connecting to the network.
The Sidekick 2 is not optional for professional validation work. It’s the component that separates a real site survey from a rough signal check.
Floor plans and building information
You need a current, to-scale floor plan for every area you intend to survey. Ekahau AI Pro scales your floor plan automatically once you set a reference distance, so accuracy matters from the start. Along with the floor plan, gather material information for walls, floors, and ceilings before the survey begins. Concrete, drywall, glass, and metal all attenuate signal at different rates, and Ekahau uses those material assignments to calculate accurate RF propagation models during the predictive design phase.
Also confirm your network performance requirements ahead of time. Know what minimum signal strength, throughput, and roaming thresholds your applications require. If you’re supporting VoIP handsets or barcode scanners, those devices have specific RF sensitivity floors that your design needs to meet.
How to run an Ekahau survey step by step
Once you have your floor plan loaded and your hardware ready, the actual survey process follows a consistent sequence. Running a complete ekahau wireless site survey takes discipline and a methodical walking path, not just a casual stroll through the building. Cutting corners at any stage produces gaps in your coverage data that show up later as unexplained performance problems.
Set up your project in Ekahau AI Pro
Open Ekahau AI Pro and create a new project. Import your scaled floor plan, then assign wall and material types to every barrier in the space. Set your target coverage requirements, including minimum RSSI thresholds and required data rates, so the software can flag deficiencies automatically as you collect data. For a validation survey, connect your Sidekick 2 and confirm it appears as an active capture device before you begin walking.
Walk a systematic path through the facility
Start at one end of the building and move through the space in overlapping horizontal passes, clicking to drop a data point on your map every 10 to 15 feet or wherever your environment warrants tighter sampling. Keep your walking pace steady and deliberate so the Sidekick has enough time to capture signal data at each location. Avoid shortcuts through areas you haven’t sampled yet; gaps in your walking path become gaps in your heatmap.
Cover every area where users or devices will operate, including stairwells, loading docks, and break rooms, not just open floor space.
Review data before you pack up
Before you leave the site, scan your preliminary heatmap for obvious coverage gaps or anomalies. If a section of the floor shows weak signal or missing data points, walk it again while you still have access to the physical space. Leaving gaps behind means scheduling a return visit, which adds unnecessary cost and delay to your project.
How to validate, troubleshoot, and document results
Once your walking path is complete, the real analytical work begins. Your Ekahau AI Pro project file now contains a full layer of measured RF data mapped to your floor plan, and you need to read that data critically rather than just confirm it looks acceptable at a glance.
Reading and acting on your heatmap
Pull up your signal strength and SNR heatmaps side by side and look for any areas where coverage drops below your defined thresholds. Weak signal zones near building edges, interference clusters from neighboring networks, and roaming boundary gaps between adjacent access points all show up as distinct color shifts in the heatmap. Each one of those anomalies points to a specific physical problem you can address, whether that means repositioning an access point, adjusting transmit power, or changing channel assignments to reduce co-channel interference.
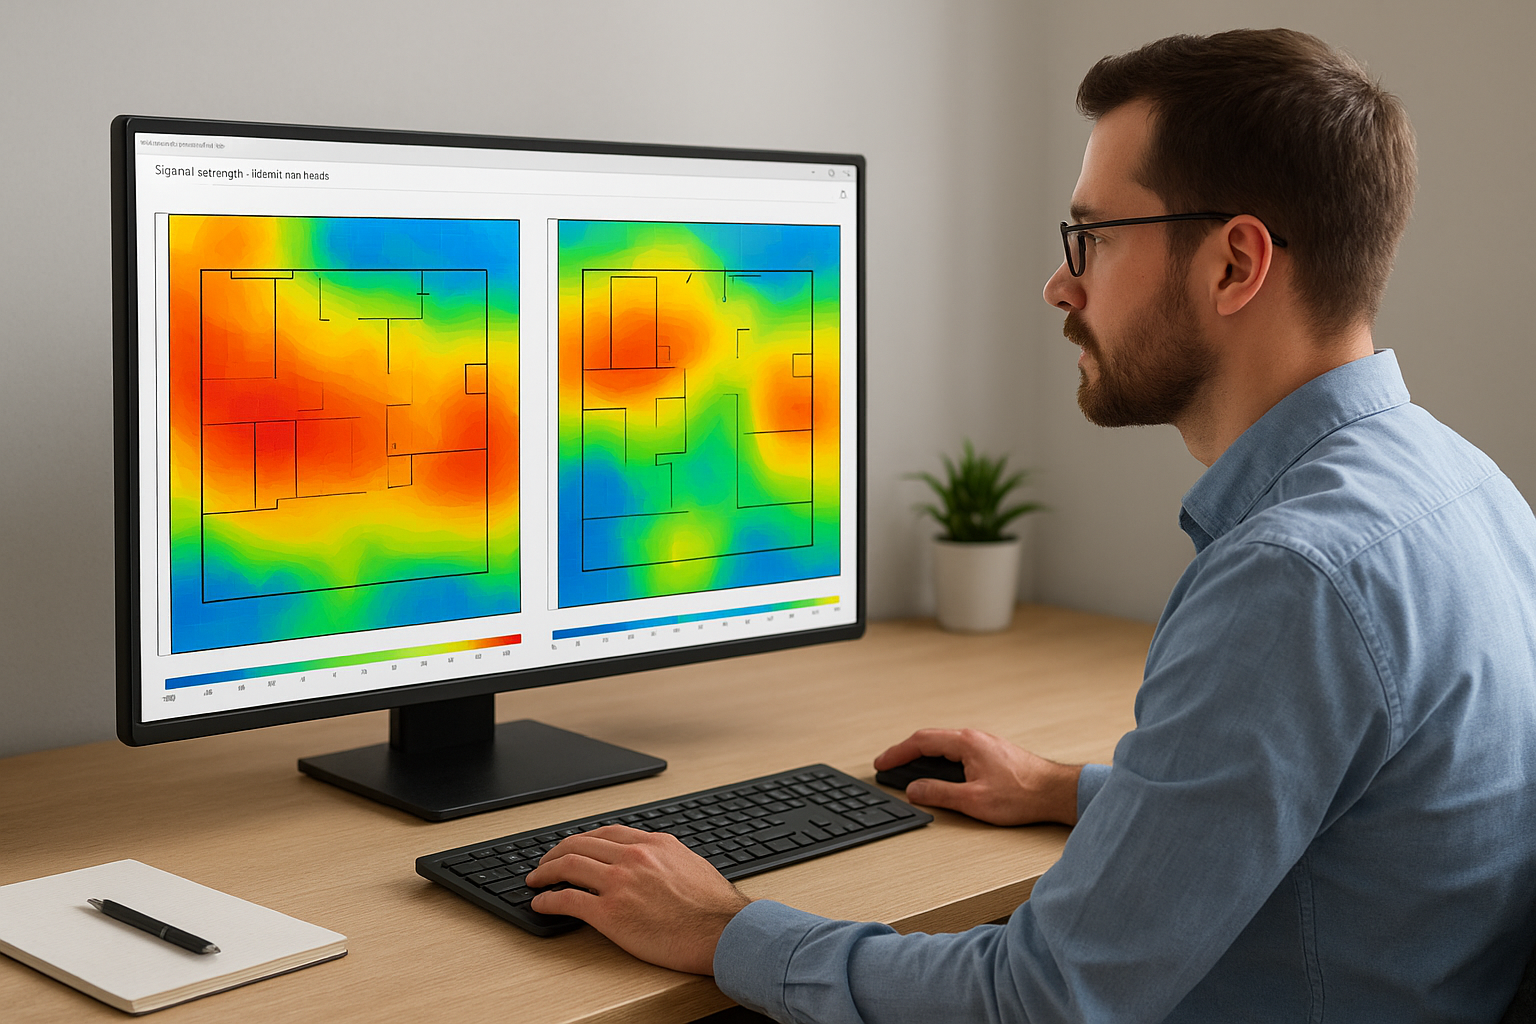
The heatmap does not tell you what to fix automatically; it tells you exactly where to look so you can apply the right solution to the right location.
Fixing coverage problems identified through an ekahau wireless site survey is straightforward when you have precise location data. Without that data, you’re adjusting hardware based on guesswork and hoping the problem resolves itself.
Building your documentation package
Ekahau AI Pro generates exportable PDF and project reports that capture your coverage heatmaps, AP placement diagrams, channel plans, and measured RSSI values across every sampled location. Provide this documentation to your client or internal stakeholders as the formal record of the deployment. It confirms that the installed network meets its design specifications and gives your team a baseline to compare against during future troubleshooting or expansion work.
Keeping that baseline project file on record means any future survey you run can be compared directly against original performance data, which makes diagnosing degradation over time significantly faster.
Next steps for your Wi-Fi project
A completed ekahau wireless site survey gives you something no vendor promise or rough estimate can match: measured proof that your network performs where your business needs it to. You now understand the full process, from loading a scaled floor plan and assigning wall materials to walking a systematic path, reading heatmaps, and producing documentation your team can reference for years. That documentation also sets a performance baseline that makes future troubleshooting and capacity planning significantly faster.
Your next move is deciding whether to run the survey in-house or bring in a commercial wireless specialist who already owns the hardware and has hands-on experience reading the data. For commercial facilities across Southwest Florida, CommX Networks handles the entire process from predictive design through post-installation validation, so your network goes live correctly the first time. Reach out to CommX Networks to discuss your wireless project and get a clear plan before any hardware goes on the wall.