
OPNsense is one of the most capable open-source firewall platforms available, and it costs nothing to run. But getting it up and running for the first time can trip you up if you don’t know what to expect. This OPNsense installation guide walks you through every step, from choosing compatible hardware to booting from a USB drive and completing your initial configuration.
At CommX Networks, we design and deploy network infrastructure for commercial facilities across Southwest Florida. Firewalls sit at the foundation of every network we build, and OPNsense is a platform we know well. We wrote this guide based on hands-on experience installing and configuring it in real environments, not recycled documentation.
Whether you’re an IT director replacing an aging firewall, a facility manager setting up a new office, or just someone who wants full control over network security, this guide gives you what you need. We cover hardware requirements, the correct ISO download, creating bootable installation media, the full installation process, and basic post-install configuration so your firewall is ready for production traffic. Let’s get into it.
What you need before you start
Before you work through this OPNsense installation guide, take time to gather everything upfront. Missing a network cable or having the wrong USB drive size can stall your progress and force a full restart. Taking 30 minutes to prepare your hardware and information before you touch the firewall machine saves you hours of troubleshooting later.
Hardware checklist
Your firewall machine needs at least two network interface cards (NICs), one for WAN and one for LAN. A single NIC setup is technically possible using VLANs, but that adds complexity you don’t need for a first install. OPNsense runs well on modest hardware, but you should aim for at least 4 GB of RAM and a dual-core 64-bit CPU to handle stateful packet inspection without performance problems under real traffic loads.
Here is what to have physically ready before you begin:
| Item | Minimum Spec | Notes |
|---|---|---|
| CPU | Dual-core, 64-bit | Intel or AMD both work |
| RAM | 4 GB | 8 GB recommended if running IDS/IPS |
| Storage | 16 GB SSD or HDD | SSD preferred for faster read/write |
| NICs | 2 ports (WAN + LAN) | Add more for DMZ or additional zones |
| USB drive | 8 GB or larger | Will be completely wiped during prep |
| Monitor and keyboard | Any | Required for the install only |
If you plan to run Suricata or Zenarmor for intrusion detection, budget at least 8 GB of RAM. Those services are memory-intensive and will noticeably degrade performance on under-specced hardware.
Software and tools to gather
You need two pieces of software before anything else: the OPNsense installer image and a USB flashing tool. The installer image is a compressed archive you download directly from the OPNsense project, and the flashing tool writes that image to your USB drive in a format the target machine can actually boot from.
Balena Etcher is a reliable, cross-platform USB flashing tool that runs on Windows, macOS, and Linux. It handles compressed images without requiring you to extract them manually first. You also need a checksum verification tool to confirm your downloaded image wasn’t corrupted during the download. On Windows, the built-in PowerShell command Get-FileHash -Algorithm SHA256 <filename> works without installing anything extra. On macOS or Linux, run sha256sum <filename> from your terminal and compare the output against the hash published on the OPNsense download page.
Network information to collect
Gather your network details before you sit down at the firewall machine. You need to know your ISP connection type (DHCP, static IP, or PPPoE) before you start. If your ISP uses PPPoE, you also need your PPPoE username and password from your ISP account portal. Without that information in hand, you will not be able to configure your WAN interface correctly after the install finishes.
Write down your planned LAN subnet as well. A common starting point for a clean network is 192.168.1.0/24, which gives you 254 usable host addresses. If you’re replacing an existing firewall, document your current LAN IP scheme so you can either match it or plan a deliberate migration. Having all of this written down before you start means you move through the post-install wizard without stopping to search for credentials or second-guess your addressing plan.
Step 1. Choose hardware and plan interfaces
Your hardware choice directly determines how well OPNsense performs under real traffic loads. Before you download anything or touch a USB drive, confirm that your firewall machine meets the minimum hardware requirements and that you understand exactly how many network interfaces your planned network layout requires. Skipping this step leads to mid-install surprises that force a complete restart.
Evaluate your hardware for the job
OPNsense runs on standard x86-64 hardware, which means most modern PCs, mini PCs, or dedicated network appliances with a 64-bit processor will work. The key constraint is NICs. You need at least two physical network ports: one connects to your modem or ISP hand-off point (WAN), and the other connects to your internal switch (LAN). A machine with only one NIC cannot function as a proper router without VLAN tagging, which adds complexity you should avoid during a first installation.
If you plan to run Suricata or Zenarmor alongside your base OPNsense installation, allocate at least 8 GB of RAM before you start, not as an afterthought.
Use the table below to size hardware based on your actual deployment scenario:
| Use Case | CPU | RAM | NICs |
|---|---|---|---|
| Small office (under 25 users) | Dual-core, 64-bit | 4 GB | 2 |
| Mid-size office (25-100 users) | Quad-core, 64-bit | 8 GB | 2-4 |
| IDS/IPS enabled network | Quad-core, 64-bit | 16 GB | 2-4 |
| Warehouse or industrial site | 8-core, 64-bit | 16 GB+ | 4+ |
Map out your interface roles before install
Knowing your interface assignments in advance keeps you from guessing when OPNsense asks you to designate ports during the setup wizard. Write down every physical NIC in your machine and assign it a role before you boot the installer. A basic two-NIC setup uses one port for WAN and one for LAN. Adding a third NIC lets you create a DMZ segment for servers that need controlled access to both the internet and your internal network without fully exposing either side.
Physical port labels in OPNsense (em0, igb0, re0) often do not match the port order printed on your hardware chassis. You should connect each NIC to a known device before the install so you can verify assignments when prompted. Create a simple interface map before you sit down:
Port 1 (em0) -> WAN -> Modem / ISP hand-off
Port 2 (em1) -> LAN -> Office switch
Port 3 (em2) -> DMZ -> Server switch
Referring back to this map throughout this opnsense installation guide keeps your configuration consistent from start to finish.
Step 2. Pick the right OPNsense image
Downloading the wrong OPNsense image is one of the most common early mistakes in this opnsense installation guide process. The project publishes multiple image variants for different deployment scenarios, and choosing the wrong one means your USB installer will not behave as expected. Spend two minutes understanding the differences before you click download, and you will avoid a frustrating round trip.
Understand the image types
OPNsense publishes four main image types for the amd64 (64-bit x86) architecture, which covers standard PC hardware, mini PCs, and server appliances. Each type serves a distinct purpose, and only one is correct for a USB-based installation on a machine with a standard display and keyboard attached.
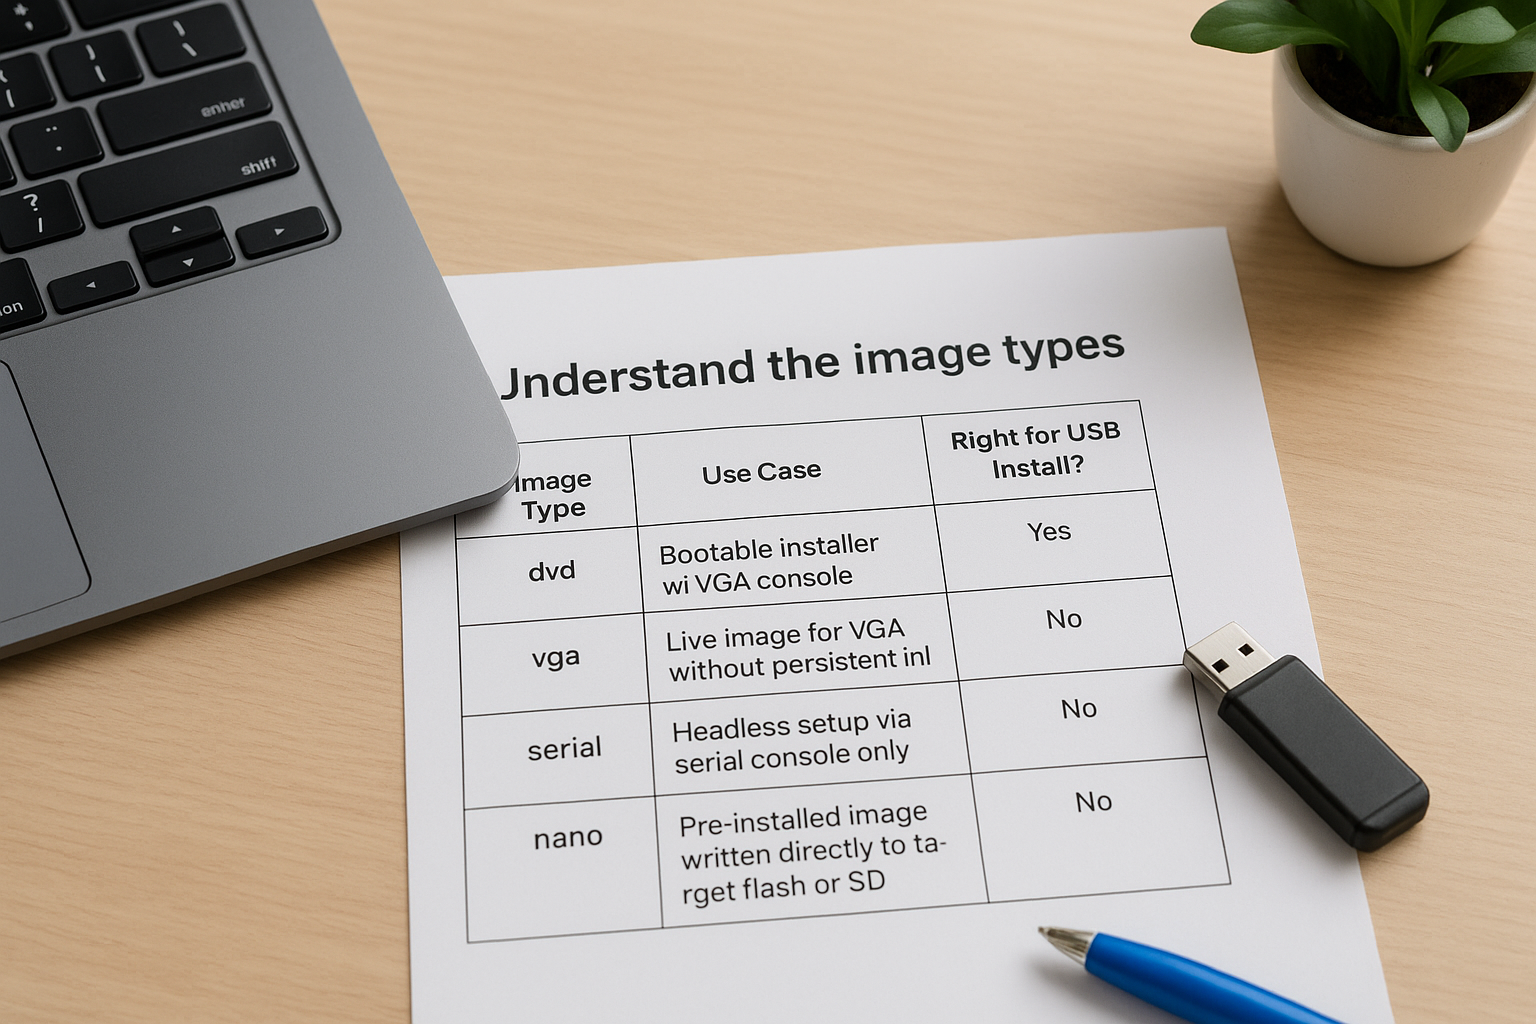
| Image Type | Use Case | Right for USB Install? |
|---|---|---|
| dvd | Bootable installer with VGA console | Yes |
| vga | Live image for VGA without persistent install | No |
| serial | Headless setup via serial console only | No |
| nano | Pre-installed image written directly to target flash or SD | No |
For a standard installation on any PC or mini appliance, you want the "dvd" image every time. Despite the name, you write it to a USB drive rather than an optical disc. The file arrives as a compressed .bz2 archive, and tools like Balena Etcher handle that compression automatically without requiring you to extract it manually before flashing.
Never download OPNsense from a third-party mirror unless you verify the SHA-256 checksum against the hash published directly on the official OPNsense download page.
Verify the checksum before you flash
Checksum verification confirms that your downloaded file is complete and was not corrupted or altered during transit. This step takes under a minute and protects you from hours of troubleshooting an unpredictable install caused by a bad file.
Run this command in Windows PowerShell immediately after your download finishes:
Get-FileHash -Algorithm SHA256 .\OPNsense-<version>-dvd-amd64.iso.bz2
On macOS or Linux, run:
sha256sum OPNsense-<version>-dvd-amd64.iso.bz2
Compare the output character by character against the SHA-256 hash listed next to your file on the OPNsense download page. A matching hash means the file is clean and ready to flash. If the hashes differ by even one character, delete the file and download it again. Moving forward with a corrupted image produces errors that are difficult to trace back to their source.
Step 3. Create a bootable USB installer
With the correct image downloaded and checksum verified, your next task in this OPNsense installation guide is writing that image to a USB drive in a format your firewall hardware can actually boot from. Simply copying the file onto the drive does not work. You need a dedicated flashing tool that writes the image sector by sector to the drive, creating a proper bootable volume the machine’s firmware can read.
Flash the image with Balena Etcher
Balena Etcher is a straightforward, cross-platform USB flashing tool that works on Windows, macOS, and Linux without requiring any command-line knowledge. It reads compressed .bz2 files directly, which means you do not need to extract the OPNsense archive before you begin. Insert your USB drive, confirm it is at least 8 GB in capacity, and understand that Etcher will completely wipe the drive before writing.
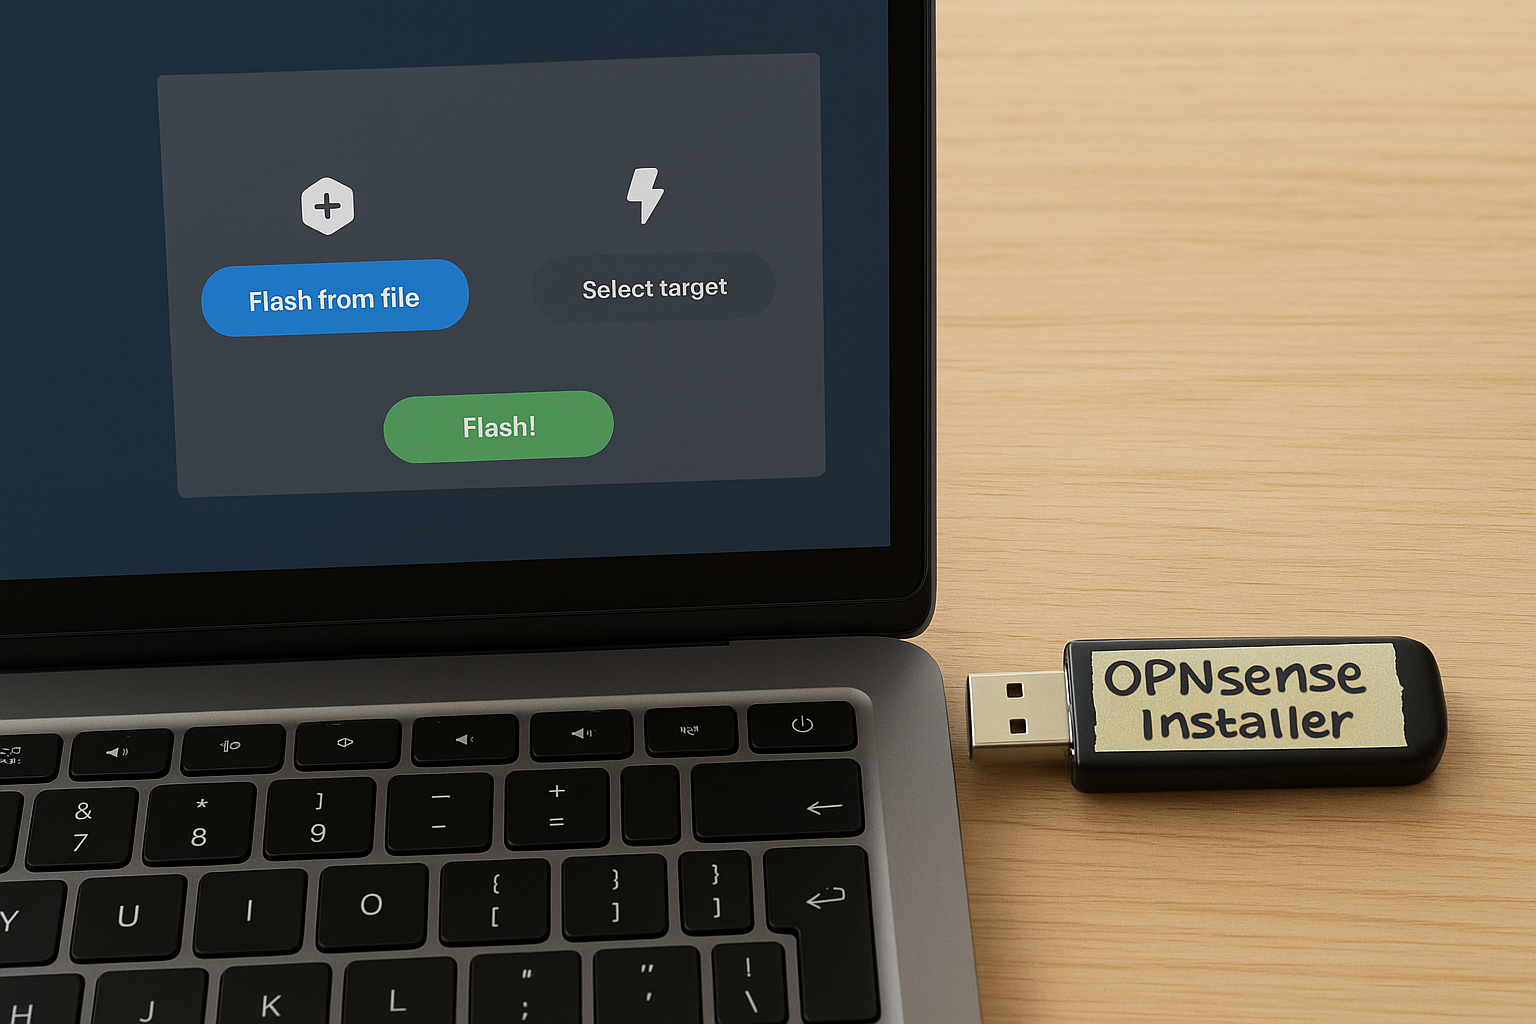
Follow these steps in order:
- Open Balena Etcher after installing it on your workstation.
- Click "Flash from file" and select your downloaded OPNsense .iso.bz2 file.
- Click "Select target" and choose your USB drive from the list. Confirm the drive letter or device name matches your USB, not your system drive.
- Click "Flash" and wait for the write and verification process to complete. This typically takes 3 to 8 minutes depending on USB speed.
- When Etcher shows a green success screen, close the application.
Do not interrupt the flash process once it starts. A partially written USB drive will produce boot errors that look identical to hardware failures, which wastes significant troubleshooting time.
Confirm the USB drive is ready to use
After Etcher finishes, Windows may display a prompt asking you to format the newly written drive. Do not click format. OPNsense writes the drive using a filesystem Windows does not recognize natively, so that prompt is expected and harmless. Click "Cancel" or close the dialog.
Physically label your USB drive after this step. During the actual boot process, you will insert this drive into the firewall machine, and you do not want to confuse it with other drives at your workstation. A piece of tape with "OPNsense Installer" written on it takes ten seconds and prevents a mistake that costs much more time to recover from. Your USB is now ready and you can move directly to the boot step.
Step 4. Boot the firewall from USB
With your bootable USB drive in hand, you now need to get your firewall machine to read from it instead of its internal drive. Most machines default to booting from their primary storage device, so you need to either change the boot order in BIOS or use a one-time boot menu to select your USB drive. This step in the OPNsense installation guide takes only a few minutes, but the exact keystrokes vary depending on your hardware manufacturer.
Enter the BIOS and set the boot order
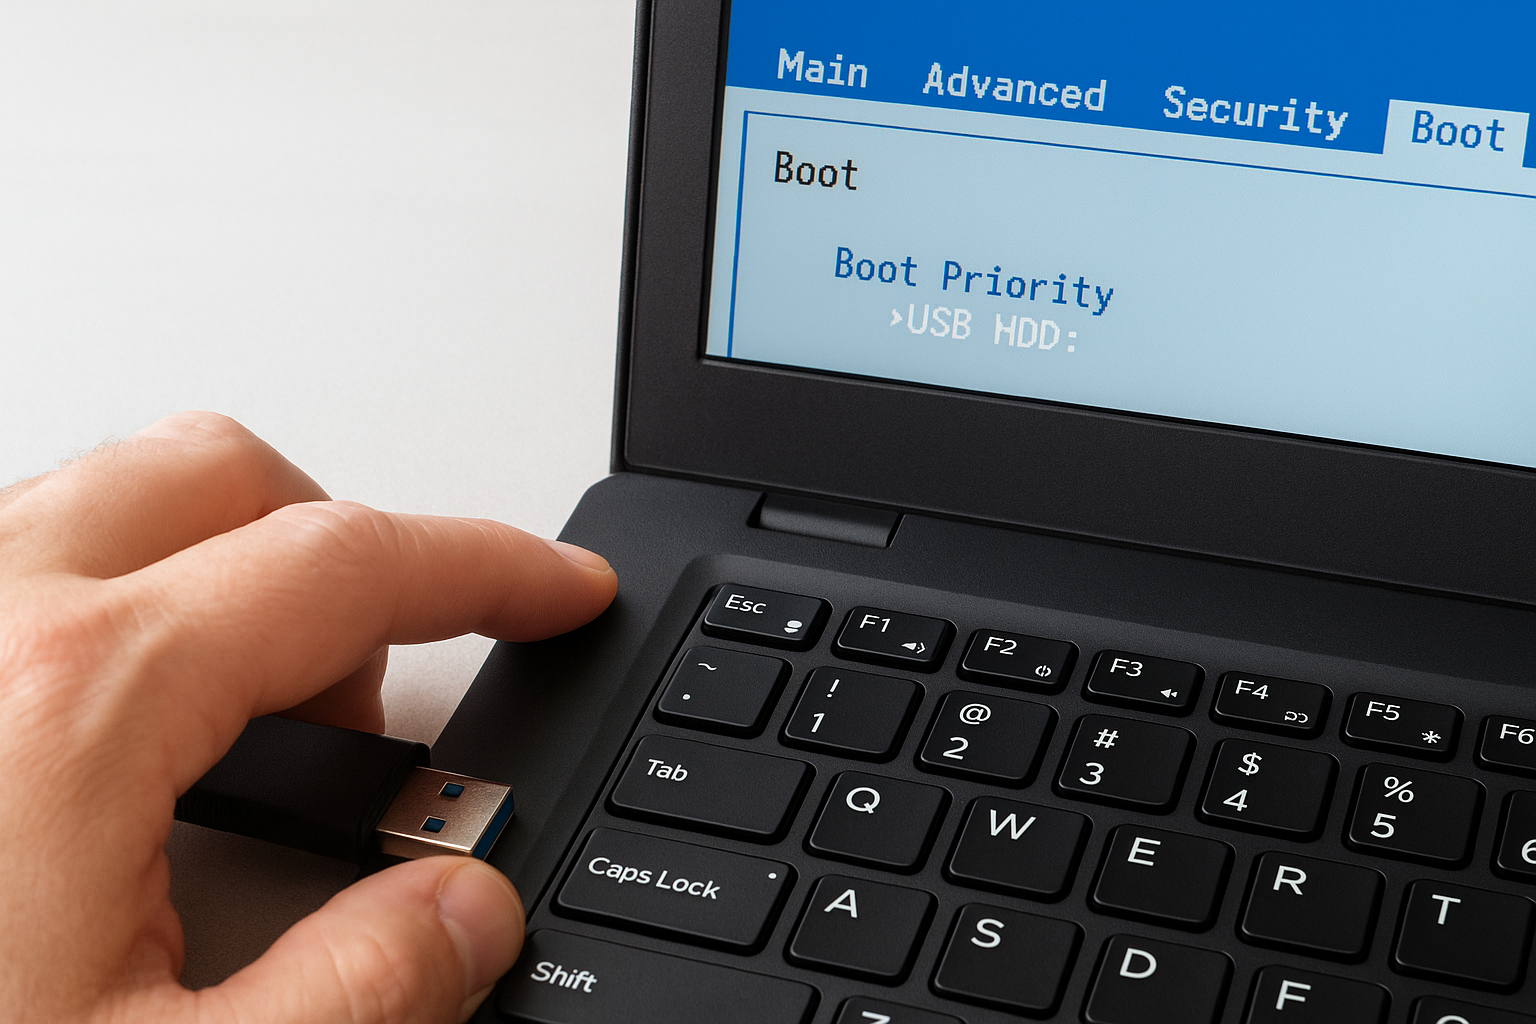
Insert the USB drive into your firewall machine before you power it on. As soon as you press the power button, watch the screen for a prompt that tells you which key opens the BIOS or boot menu. Most hardware uses one of these keys during the first few seconds of startup:
| Manufacturer | BIOS Key | One-Time Boot Menu Key |
|---|---|---|
| Intel NUC / mini PCs | F2 | F10 |
| Dell | F2 | F12 |
| HP | F10 | F9 |
| Supermicro / server boards | Delete | F11 |
| Generic PC / custom build | Delete or F2 | F8 or F12 |
If you miss the window, restart the machine and try again. Inside the BIOS, navigate to the Boot Order or Boot Priority section and move your USB drive to the top of the list. Save and exit, which typically uses the F10 key on most systems. Your machine will restart and attempt to boot directly from the USB drive on the next power cycle.
If your machine uses UEFI firmware with Secure Boot enabled, disable Secure Boot before saving your BIOS changes. OPNsense does not carry a Microsoft-signed bootloader, and Secure Boot will block the drive from loading entirely.
Select the USB and watch the boot sequence
After your machine restarts, you should see the OPNsense boot loader appear within 10 to 15 seconds. It displays a menu with options including a standard boot, single-user mode, and memory test. Do not touch anything. The installer automatically selects the standard boot option after a short countdown and continues loading the OPNsense live environment from your USB drive.
Once the system finishes loading, you will see a login prompt on a dark console screen. At this point, the USB installer has successfully booted and the machine is running OPNsense from the USB drive. You have not installed anything to the internal disk yet. The next step moves you into the actual installation process.
Step 5. Run the installer and pick a filesystem
With OPNsense booted from USB, you are now running a live environment directly from the drive, not from the internal disk. Nothing has been written to your firewall machine’s storage yet. This step of the OPNsense installation guide walks you through logging into that live environment, launching the installer, and making the two most important early decisions: partition scheme and filesystem.
Log in to the live environment
The console displays a login prompt after the boot sequence finishes. Use the default installer credentials to get in: type installer as the username and opnsense as the password. These credentials exist specifically for the installation process and are not the same as your post-install admin login. You do not need to change anything before entering them.
These default credentials only apply to the live installer session. Your actual admin credentials get configured after the installation finishes and the system reboots from the internal drive.
After you log in, the OPNsense installer launches automatically and presents a simple menu-driven interface. You navigate it using your keyboard arrow keys and confirm selections with Enter. The installer does not require a mouse.
Walk through the installer prompts
The installer presents a small sequence of screens before it reaches the filesystem selection. Accept the default keymap unless your keyboard uses a non-US layout. Then confirm the installation mode. Select "Install (UFS)" or "Install (ZFS)" depending on your storage choice, which the next section covers in detail. Do not select the import or rescue options; those are for recovering an existing installation, not creating a new one.
Here is the sequence you will move through:
- Select keymap: choose your keyboard layout and confirm.
- Select installation type: choose Install to write OPNsense to your internal disk.
- Select partitioning scheme: choose GPT for UEFI hardware or MBR for older BIOS-only machines.
- Select filesystem: UFS or ZFS (see below).
- Confirm disk selection: choose your target internal drive and confirm the wipe.
Choose your filesystem
UFS (Unix File System) is simpler, uses less RAM, and works well for most small to mid-size deployments. ZFS provides built-in checksumming, snapshot support, and stronger data integrity, but it requires at least 8 GB of RAM to run reliably. For most commercial firewall deployments with standard hardware, UFS is the correct choice unless you have specific snapshot or redundancy requirements.
| Filesystem | Minimum RAM | Best For |
|---|---|---|
| UFS | 4 GB | Standard installs, limited RAM |
| ZFS | 8 GB | High-availability, data integrity critical |
Select your filesystem, confirm the target disk, and let the installer write OPNsense to internal storage. The process takes under two minutes on an SSD.
Step 6. Assign WAN and LAN interfaces
After the installer finishes writing OPNsense to your internal disk, the system ejects the live environment and reboots directly from your new installation. Remove the USB drive as soon as the machine restarts so it does not boot back into the installer. When the system comes back up, you land on the OPNsense console menu, and the first task waiting for you is interface assignment. This is the step where your physical network ports get assigned their roles, and getting it right here makes every configuration step that follows much simpler.
Understand how OPNsense identifies ports
OPNsense labels your network ports using BSD-style device names that reflect the driver each NIC uses, not the physical port number printed on your chassis. Common names include igb0, em0, re0, and vtnet0. Two NICs from different manufacturers sitting in the same machine will carry entirely different naming prefixes, which is why the interface map you created in Step 1 of this OPNsense installation guide matters right now.
Your physical port order on the chassis does not always match the logical order OPNsense assigns. Verify assignments by connecting a device to one port at a time and watching which interface shows link activity in the console output.
The console menu displays all detected interfaces with their MAC addresses listed alongside each device name. Compare those MAC addresses against your hardware documentation or the labels on your NIC to confirm which physical port corresponds to which logical name before you assign anything.
Assign interfaces through the console menu
Select option 1 "Assign interfaces" from the main console menu to begin. OPNsense first asks whether you want to configure VLANs. Type n and press Enter unless you specifically planned a VLAN-based setup. The installer then prompts you to enter the WAN interface name by typing the device name directly, for example igb0. Press Enter to confirm, then type your LAN interface name at the next prompt, for example igb1.
Follow this sequence at the console:
Do you want to set up VLANs now? [y/N]: n
Enter the WAN interface name or 'a' for auto-detection: igb0
Enter the LAN interface name or 'a' for auto-detection: igb1
Enter the Optional interface 1 name or ENTER for none:
If you have a third NIC for a DMZ, type its device name at the optional interface prompt. Otherwise, press Enter to skip. Type y when OPNsense asks you to confirm your selections, and the system applies the interface assignments immediately. The console menu returns with your WAN and LAN now active and ready for the next configuration stage.
Step 7. Finish first login and basic setup
With your WAN and LAN interfaces assigned, OPNsense is now routing traffic through the firewall. Your next task in this OPNsense installation guide is to log in to the web interface from a device on your LAN and run through the setup wizard to configure your WAN connection type, LAN address, and admin credentials. Connect a workstation or laptop directly to your LAN port using an Ethernet cable before you open a browser.
Log in to the web interface
OPNsense ships with a default LAN IP address of 192.168.1.1, and your workstation should pick up an IP in the 192.168.1.0/24 range automatically via DHCP once it connects to the LAN port. Open any browser and navigate to https://192.168.1.1. Your browser will display a certificate warning because OPNsense uses a self-signed certificate by default. Accept the warning and proceed to the login page.
This certificate warning is expected on first login. You can replace the self-signed certificate with a trusted one after setup is complete.
Use the default admin credentials to log in: username root and password opnsense. The system immediately prompts you to change this password, which you should do before you make any other change. Choose a strong password of at least 16 characters that you store in a password manager, not on a sticky note near the firewall.
Run through the setup wizard
The setup wizard launches automatically after your first successful login. It walks you through six short configuration screens in sequence. Work through each one in order rather than skipping ahead and returning later.
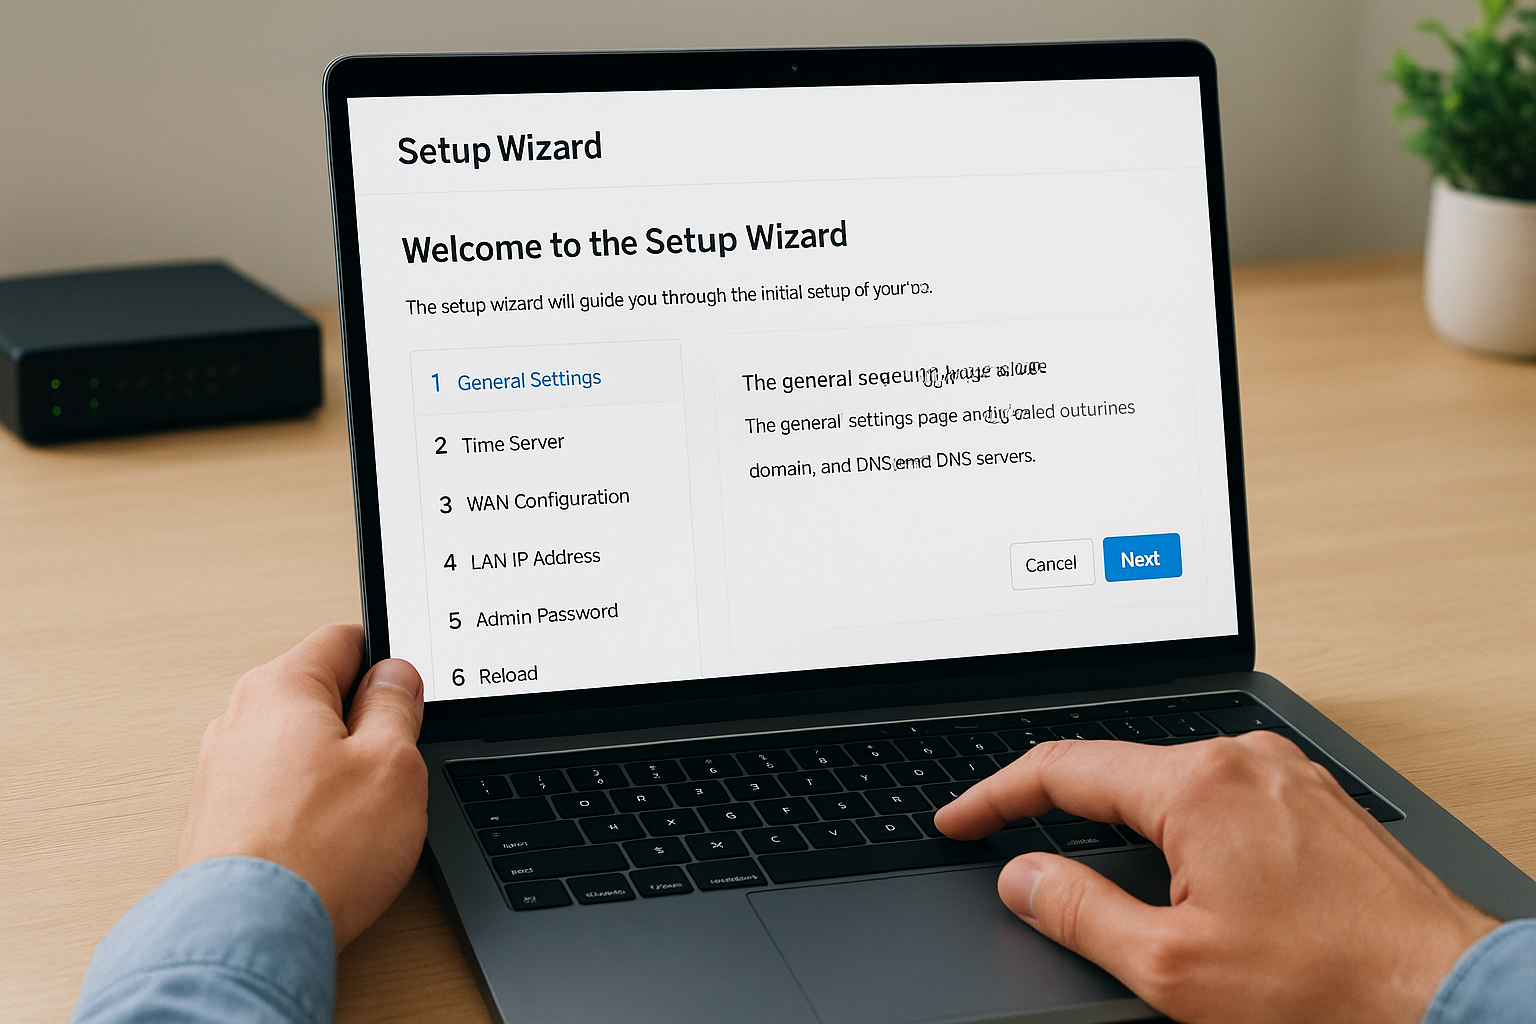
Follow this sequence through the wizard:
- General settings: Set your hostname, domain name, and DNS servers. Use
8.8.8.8and8.8.4.4as a starting point if you have no internal DNS server. - Time server: Accept the default NTP server or enter your own. Set your correct time zone here; logging timestamps depend on it.
- WAN configuration: Select DHCP if your ISP assigns an IP automatically. Select PPPoE and enter your credentials if your ISP requires it.
- LAN IP address: Change this from the default
192.168.1.1if your network plan requires a different subnet. - Admin password: Confirm the new password you set at login.
- Reload: Click Reload to apply all settings and restart the relevant services.
After the wizard finishes, OPNsense returns you to the main dashboard. You should see your WAN interface showing a connected status with an assigned IP address. If WAN shows no IP, verify your ISP connection type and re-enter any PPPoE credentials through Interfaces > WAN in the left navigation menu.
Step 8. Do the first update and lock it down
Your firewall is running, but out-of-box OPNsense is not hardened. Before you pass production traffic through it, apply any pending firmware updates and tighten the default settings that leave your management interface unnecessarily exposed. Skipping this final step is one of the most common mistakes in any opnsense installation guide, and it creates problems that are significantly harder to fix after your network is live and carrying traffic from real users.
Run the firmware update
Applying updates immediately after install ensures your firewall runs on the latest stable release with all current security patches in place. OPNsense updates the base system, kernel, and installed packages in a single operation through the web interface, so there is no need to touch the command line for a standard update.
Follow these steps to apply updates:
- Navigate to System > Firmware > Status in the left menu.
- Click "Check for updates" and wait for the system to query the OPNsense repository.
- Review the available updates and click "Update All" to begin the process.
- Watch the progress log as OPNsense downloads and applies each package.
- When complete, click Reboot and wait for the firewall to come back online.
Do not skip the reboot after a firmware update. Kernel updates do not take effect until the system restarts, and a mismatched kernel and userland produces unpredictable behavior under real traffic load.
After the reboot, log back in and return to System > Firmware > Status to confirm no additional updates are pending. A clean status screen means your firewall is running on current code and ready for the next phase of configuration.
Tighten the basic security settings
With your firmware current, restrict access to the management interface and disable services you are not actively using. These changes reduce your attack surface before the firewall handles real traffic, and they take under five minutes to apply.
Work through each of the following settings before you consider the installation complete:
| Setting | Location | Recommended Action |
|---|---|---|
| Web GUI protocol | System > Settings > Administration | Force HTTPS only |
| Management port | System > Settings > Administration | Change from 443 to a non-standard port |
| SSH access | System > Settings > Administration | Disable unless you need remote shell access |
| Anti-lockout rule | Firewall > Rules > LAN | Keep enabled until admin access rules are confirmed |
| Console password | System > Settings > Administration | Enable password protection on the physical console |
Changing the management port from 443 to a non-standard value reduces automated scanning noise on your external interface. Your logs will be cleaner, and you will spend less time filtering out background probe traffic when you review them. Always test admin access from the LAN side after each change so you do not accidentally lock yourself out before the next adjustment.
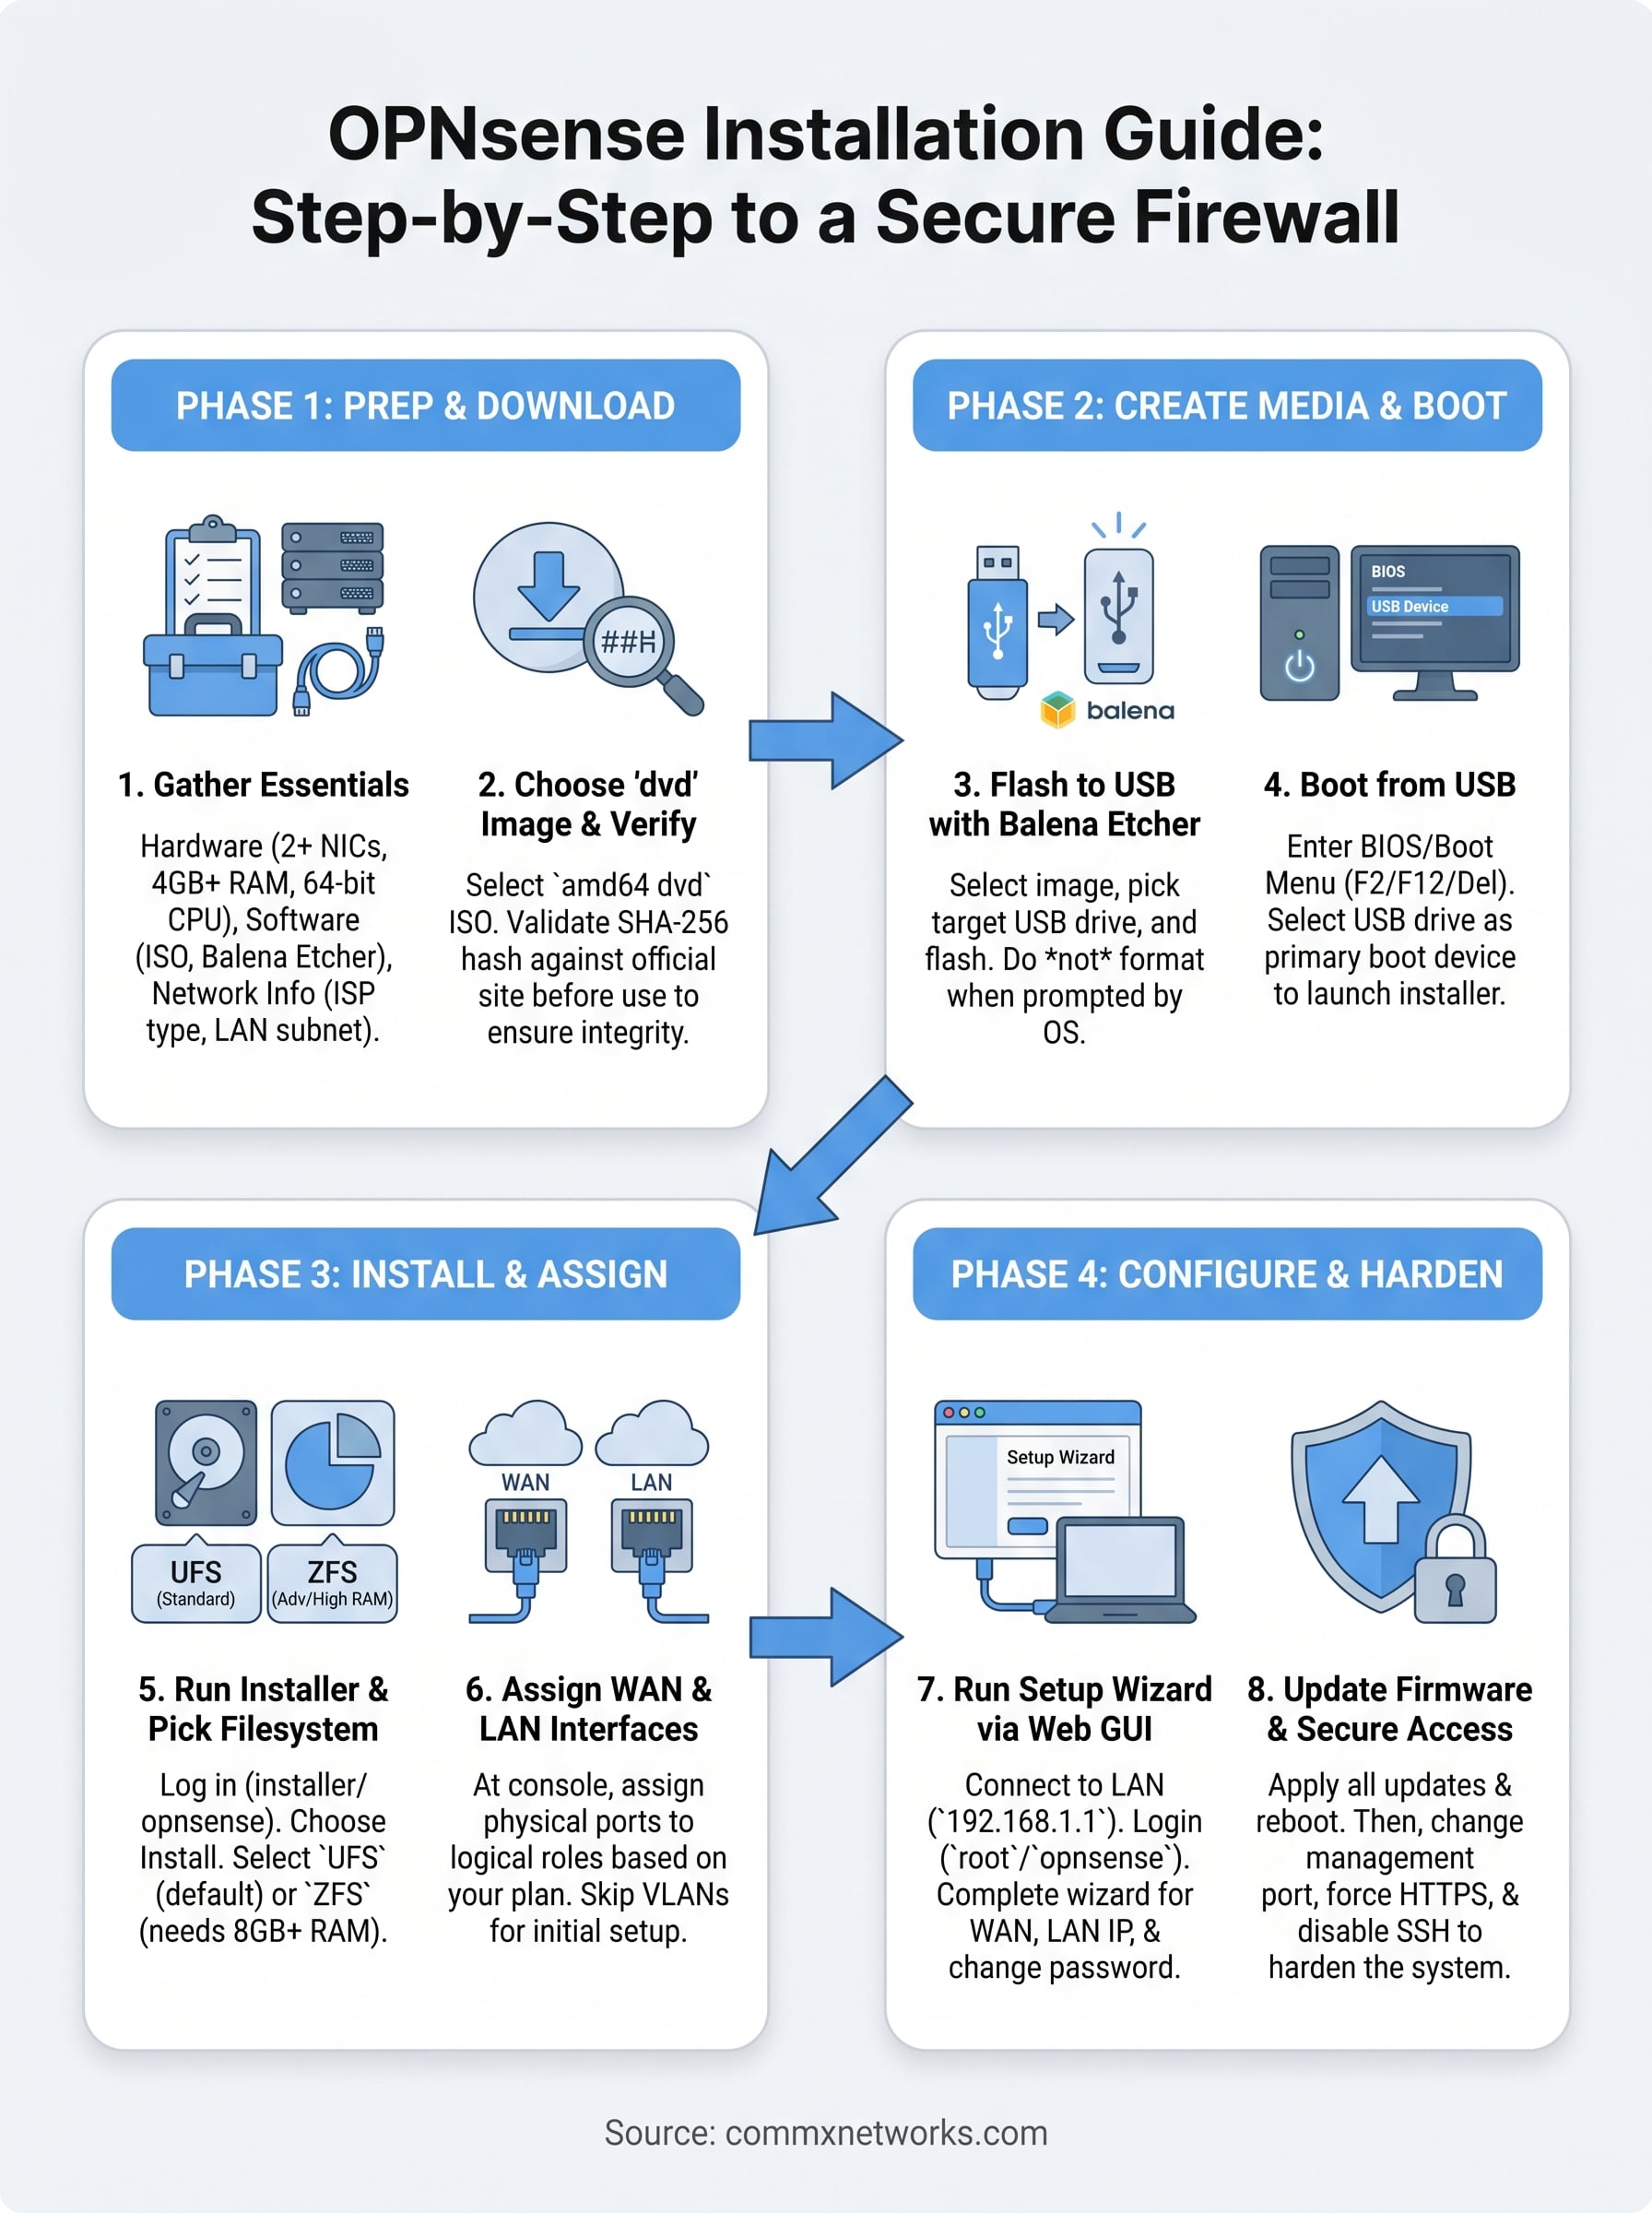
You are ready to route traffic
You have now completed every step of this OPNsense installation guide: hardware selection, image download, USB creation, installation, interface assignment, wizard configuration, and basic hardening. Your firewall is updated and your management interface is restricted, your WAN connection is live, and the system is ready to carry production traffic.
From here, your next logical steps include creating firewall rules for specific traffic policies, setting up VLANs to segment your network, and adding an IDS/IPS like Suricata if your hardware supports it. Each of those builds directly on the clean install you just completed, so the time you invested in doing this correctly pays dividends at every stage that follows.
If you manage a commercial facility in Southwest Florida and need professional help with the network infrastructure underneath your firewall, CommX Networks handles the physical layer from cabling to switching so your OPNsense deployment runs on a solid foundation.